A child gets hurt on a rental inflatable, and the first question asked is always the same: did anyone check it before setup? Pre-use inspection separates a safe event from a liability nightmare. You don’t need special tools or a formal certification to know how to inspect an inflatable water slide before each use. What you do need: a consistent checklist, a few minutes, and the discipline to actually do it every single time, not just on the first rental of the season.
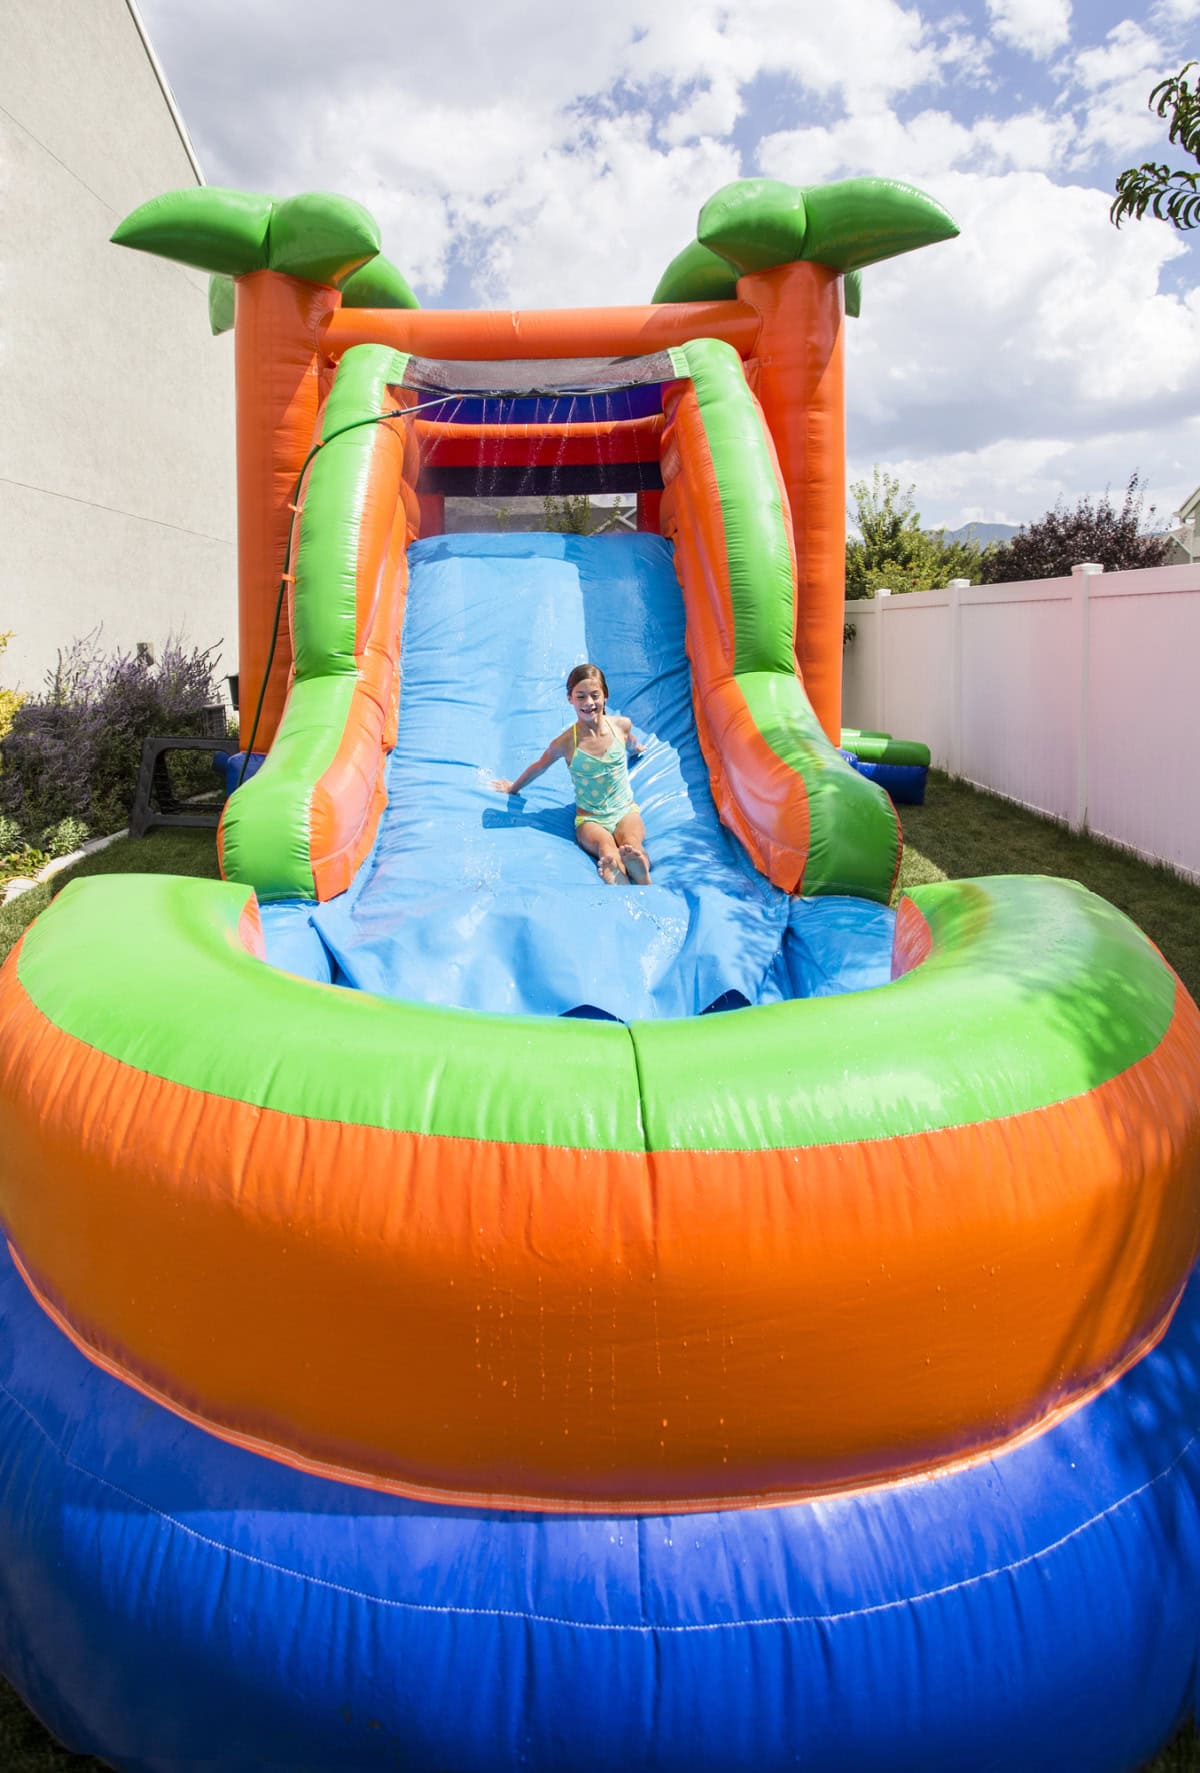
Structural Integrity: What to Look for Before the Water Turns On
Structural problems are the most common and the most dangerous issues you’ll find on a used inflatable. Before you run the blower or connect a hose, walk the entire unit on the ground and look closely at every surface. You can buy inflatable water slides here or order from other manufacturers that use commercial-grade PVC, and you’ll notice the seams are thick and tightly welded. That’s your baseline for what good looks like. Any deviation from that standard- puckered seams, visible thread, or soft spots where the material separates- deserves attention before inflation. Most operators skip the ground check altogether. Don’t. Structural failures happen mid-use, and the fallout is far worse than delaying setup by ten minutes.
Seams, Stitching, and Surface Tears
Run your hand along every seam, especially around the slide lane, the entrance arch, and the splash pool connection. You’re searching for areas where the bonding has lifted, where thread is exposed, or where the material shows a stress crack or micro-tear. Those fold lines matter most; they flex repeatedly during inflation and deflation and tend to fail first. On the slide surface itself, look for punctures from prior use, patches that’re peeling at the edges, or discoloration that might signal UV degradation or chemical damage from chlorine-heavy water. A small patch done correctly is fine; a patch lifting at two corners isn’t. If the slide has windows or mesh panels, check each seam where the mesh meets the PVC wall; those junctions are a common weak point. Press gently on each panel to feel for any give that doesn’t match the surrounding material. Document anything you find with a photo before setup. Then decide whether it’s safe to inflate before the kids arrive.
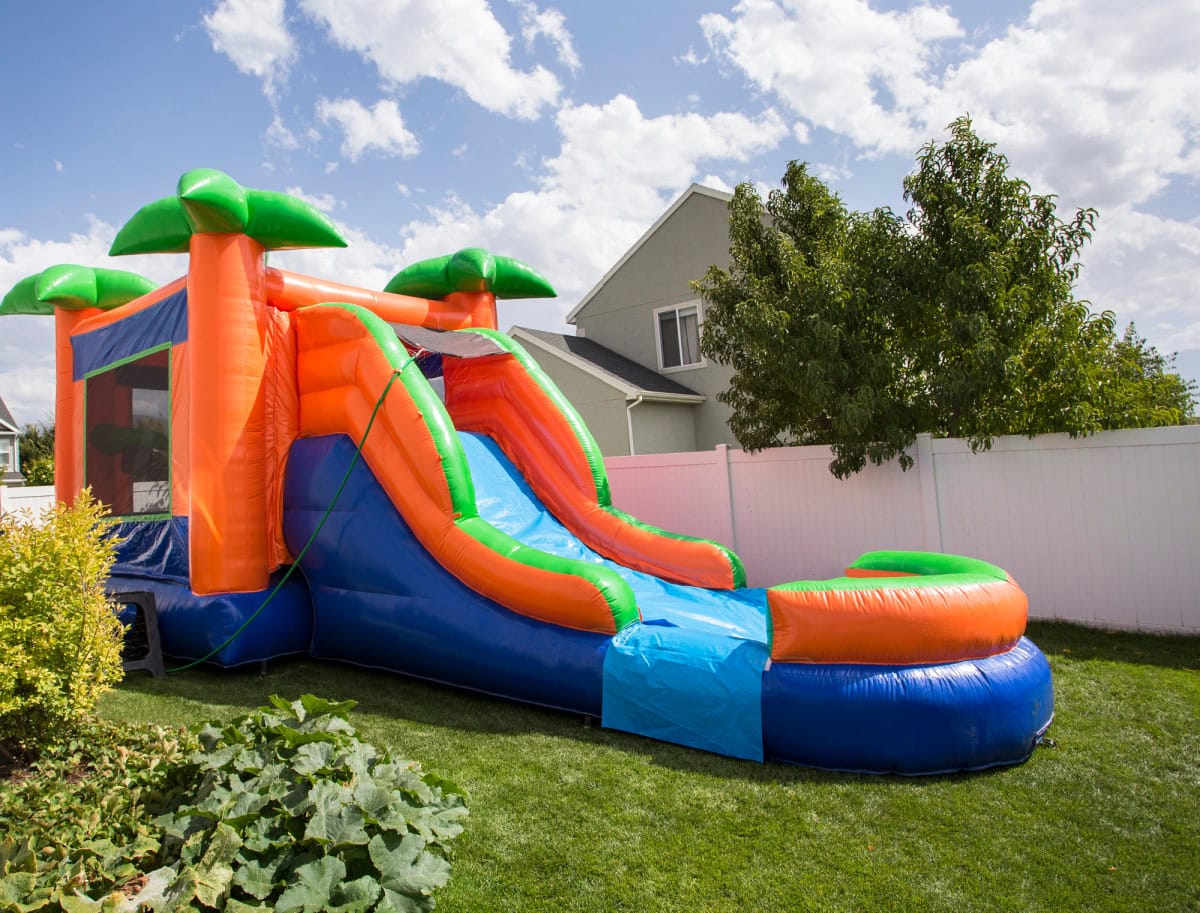
Anchor Points and Stake Connections
Every inflatable water slide has D-rings or anchor loops at its base, and every single one needs a visual check before you stake the unit down. Look for fraying at the stitching where the ring connects to the PVC. If the loop is attached by a separate piece of fabric, check both the top and bottom seams of that strap. Here’s the thing: a D-ring that holds under light use can fail completely under wind load or when multiple children shift weight during play. Once the unit is inflated and staked, do a second check on each anchor point with the blower running. The inflated tension changes how stress distributes across the base; sometimes a seam that looked acceptable on the ground shows a gap once the unit is fully pressurized. Stakes themselves matter too. They should be inserted at a 45-degree angle away from the unit, not straight down. And if the ground is soft from recent rain, use longer stakes or add extra anchor points to compensate.
Water, Airflow, and Electrical Safety Checks
Once the structural inspection passes, you move to the systems that keep the slide running safely during use. Water and electricity in close proximity are a serious concern, one that many first-time rental operators underestimate. The blower motor powers the entire unit, and it sits in a wet environment by design. Knowing how to inspect an inflatable water slide before each use includes understanding where the electrical components are, how to keep them dry, and what warning signs indicate a blower problem before it becomes a shock hazard.
Checking the Blower and Hose Connections
Inspect the blower housing for cracks, dents, or signs of water intrusion. The motor intake should be clear of debris, since grass clippings and dirt restrict airflow and cause the motor to overheat. Check the power cord for any nicks, fraying, or exposed wire along its entire length. A damaged cord should be replaced, not taped. The connection between the blower tube and the inflatable’s air inlet is another common failure point. The sleeve or collar that seals the tube to the unit should be tight with no visible gaps. If air escapes at that junction, the unit won’t reach full pressure, and a soft inflatable is a structural hazard. Run the blower for two to three minutes before opening the unit to users; listen for any unusual sounds, such as grinding, rattling, or irregular cycling. Motor struggling or surging? Shut it down and check for a blockage before continuing.
Wet Surfaces, Mold, and Drainage
Storage is where mold problems start. If a slide was folded and stored while still damp, you may find dark spots or a musty smell on the interior surfaces. Mold on an inflatable isn’t just unpleasant; it’s a health risk for young children who press their hands and faces against the material. Unroll and open the unit fully before you inflate it, and give the interior a visual scan. Any visible mold should be cleaned with a diluted bleach solution, dried completely, and re-checked before use. On the water side, confirm that the water supply line connects to the designated inlet at the top of the slide, not improvised at a seam or patch location. Check that the splash pool drains properly and doesn’t pool water around the base of the blower unit. Standing water near the motor is unacceptable. Position the unit so water flows away from the power source naturally; place the blower on a dry platform if the ground is wet.
Conclusion
A pre-use inspection of your inflatable water slide doesn’t need to be complicated, but it does need to be consistent. Check the seams and surface on the ground before inflation. Confirm every anchor point once the unit is fully pressurized. Give the blower and electrical connections a close look before any water runs. These steps take under fifteen minutes, and they cover the failure points that cause the most injuries and the most expensive claims. Make this process part of every setup, and you’ll know how to inspect an inflatable water slide before each use in a way that protects your guests and your business at the same time.

- Simple Ways to Make Home Maintenance Less Stressful - September 15, 2026
- Bathroom Flooring Ideas That Balance Style and Practicality - September 15, 2026
- Red Light Spa Near Me vs. At-Home Red Light Panel: Which Is Better? - September 15, 2026