A few years ago my daughter wanted a big chevron painted on her bedroom wall. We had recently had her walls textured and I really wasn't sure that we could get a nice clean line when we didn't have a smooth working surface! After some research and trial and error we figured out how to paint clean lines on textured walls. The results were fantastic!
How to Paint Clean Lines on Textured Walls
First off this process works best for lightly textured walls. If the wall has really thick, extra bumpy texture this process may not work for you.
The goal is to get a seal so that paint will not seep under the tape where the surface is textured and the tape isn't sealing as well as it would on a smooth wall.
First you need to apply your painters tape to the wall in the position you want it to be for whatever pattern you are doing. I used Frog Tape and found it to work well. We were doing some big chevrons so we went ahead and taped off the whole design. I think it is best to get your design totally taped before proceeding!
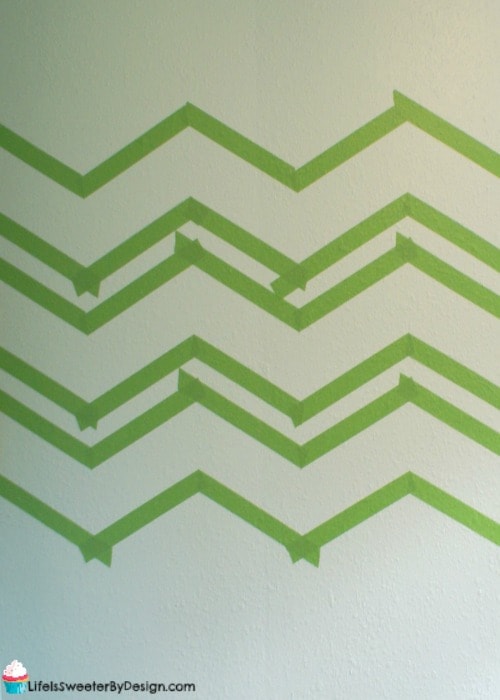
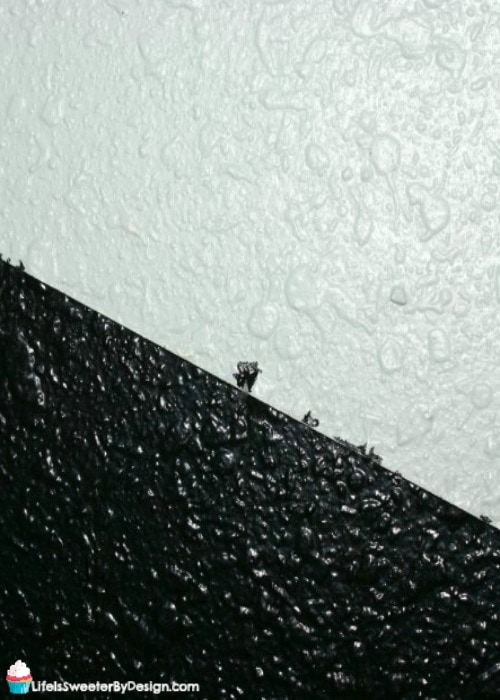
Once you have your tape applied, go back over the tape with your fingers first and press it down really well into all the little open spaces where the texture is. Then you want to go over the tape with a flat tool to really get it pressed down good. You can use a putty spatula or some other straight edge tool to get this done.
Now you need to take the paint that your background wall is and paint along the edges of the tape where you will be adding a new color of paint. So in my image below I have 2 areas (B) that will be getting painted a new color. I am going to take the color of my wall and paint that same color along the edges where my B color will be going.
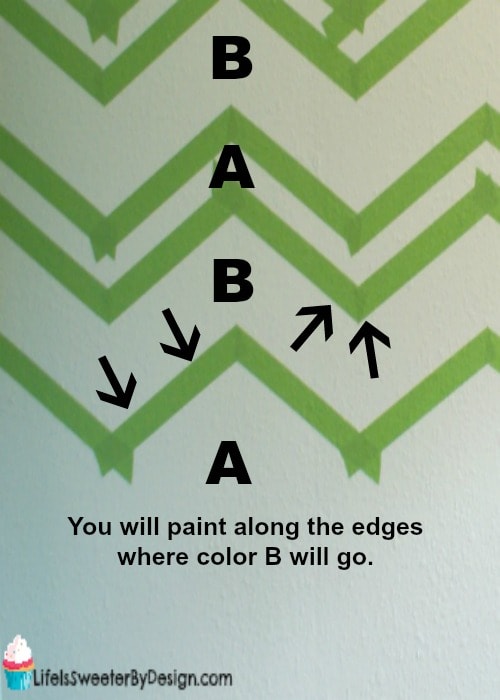
The purpose for this is to provide a nice seal of dried paint under those gaps in the tape due to the bumpy surface. This process should seal the edge of the tape so the new color can't seep underneath it!
We were doing several different colors with the background color in between so we had a lot of edges to seal! When choosing these colors, I also considered how each one would affect the mood of the room — a subtle nod to the impact of colour psychology in interior design.
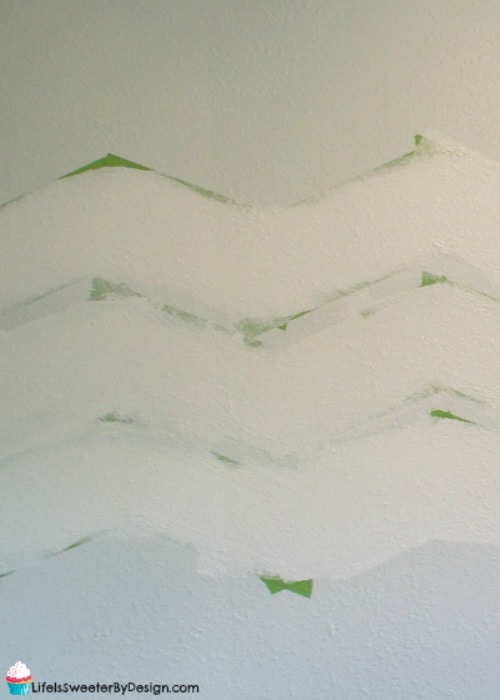
It is very important to let this background color DRY really well.
Now you can paint your new color onto the wall where it needs to go. If it needs a second coat go ahead and do that before removing your tape.
When you are ready to remove your tape you can just peel it off very slowly and carefully. If you are having issues you can use a box knife and very gently run it along the edge of the tape being really careful not to damage your wall! I didn't find it necessary to use the box knife, but have heard of other people using this method.
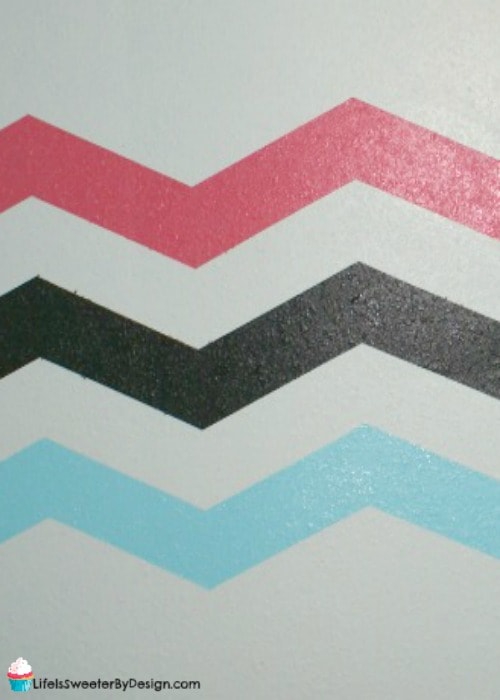
If all goes well you should have some nice clean lines on your textured wall! I had a few areas that some tiny bits of paint bleed under the tape….but overall it wasn't bad and only took a few minutes and a tiny paint brush to touch up!
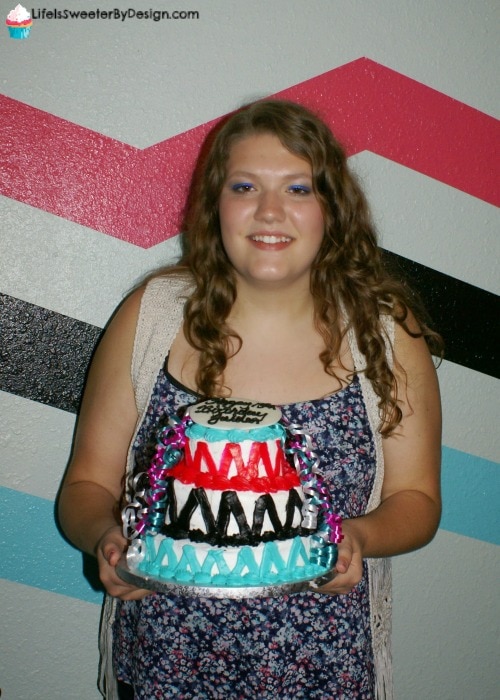
My daughter was thrilled with the outcome and absolutely loved her chevron wall! She got so many compliments on it. We were very lucky to have my father-in-law help us with this big project!!
We got this done not long before my daughter's 13th birthday and I had a cake made for her to match her cool new walls!
Have you done any big painting projects that involved clean lines? I would love to hear about it or even see your pictures! I think it is a big job and not one I would want to do very often, LOL! I hope this tutorial helped you figure out how to paint clean lines on textured walls and that your lines come out awesome!!
You can find some more DIY projects HERE.

- Navigating the Aftermath of an Accident for Your Family - July 4, 2026
- How To Make Holidays Feel Special When Kids Split Time Between Homes - July 4, 2026
- Our Favorite Brands For Getting Your Kids Beach Ready - July 3, 2026


I had figured out the frog tape would be necessary but, the texture problem was not in my forethoughts. I thank you of raising this issue before I had gone ahead and just applied the tape then placed the coloured paint, thus skipping the primer as an evening agent.
Glad this helps you Sophie….hope it saves you time and effort too!! I had some failed attempts prior to this…so totally understand! The touch ups with this method were SO much less then they would have been! Thanks for commenting!