Most parents in this position know their machine well enough. Threading it, adjusting the tension, swapping a presser foot: none of that is mysterious. What feels less clear is how to actually look after it, and how much of that care genuinely matters when time is already stretched thin. Good sewing machine maintenance for parents does not need to be complicated or time-consuming; it is a handful of habits that prevent most problems, a few quick fixes that are safe to try yourself, and a clear sense of when it is smarter to stop tinkering and hand the machine to a professional like Franklins Group before a small fault becomes a costly repair.
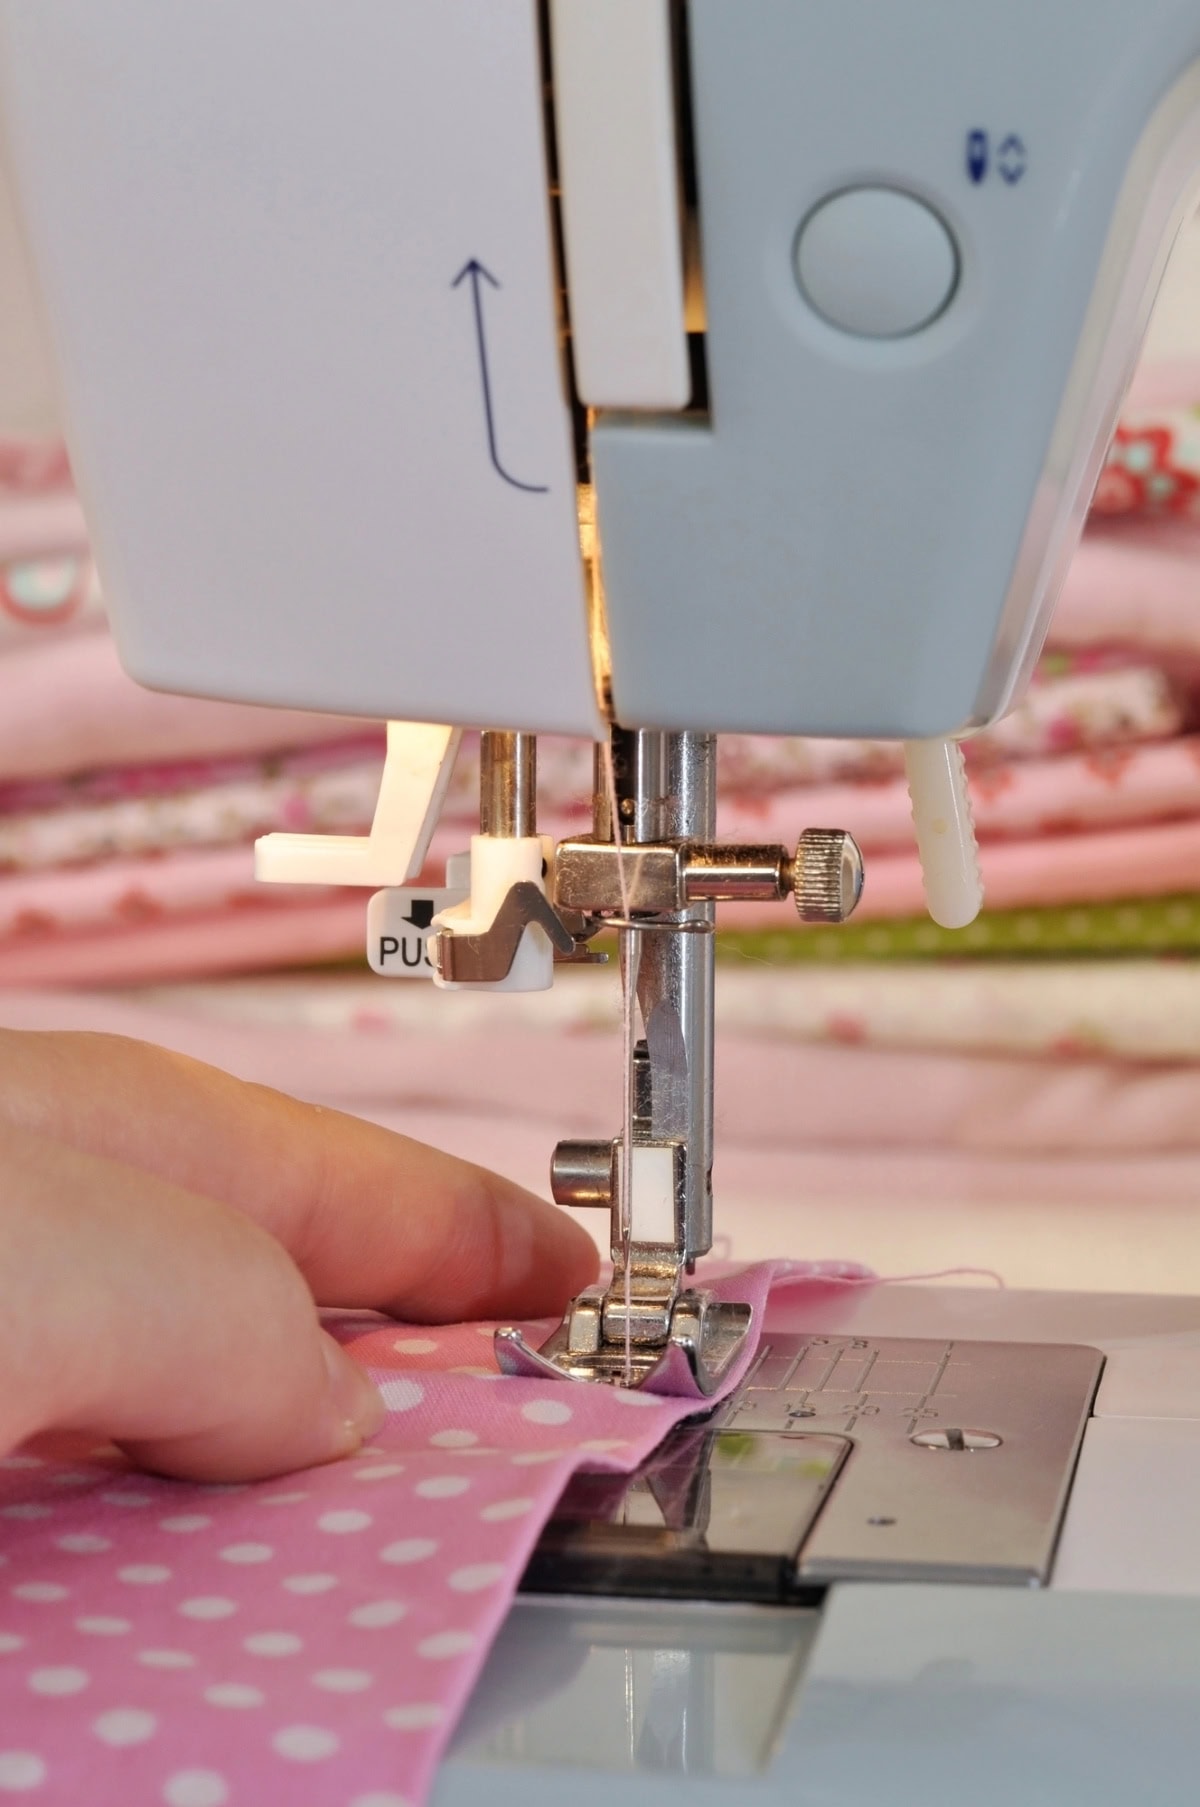
The minimum-effort sewing machine maintenance for parents
A small number of habits prevents the vast majority of problems on a domestic machine. You do not need a technical routine or specialist tools, just consistency with a few simple actions.
Lint is the silent enemy of a well-running machine. Thread fibres and fabric fluff accumulate in the bobbin area and around the feed dogs (the small metal teeth that grip and move your fabric) surprisingly quickly, and once the build-up is heavy enough it causes tension problems, motor strain and stiff running. After every two or three hours of sewing, or at the end of each project, whichever comes first, switch off and unplug, pop off the needle plate or bobbin cover, and brush lint outward and away from the machine using the small brush that came with it. Never blow lint out with your breath or a can of air, as this pushes debris deeper into the internal mechanisms where it does more damage and is harder to shift.
The needle deserves more attention than most parents give it. A dull or slightly bent needle is the single biggest cause of skipped stitches, thread breaks and snagged fabric, so fit a fresh one at the start of any big costume project, or after every two or three smaller ones, or immediately if you hear an odd noise or feel unexpected resistance. Needles are inexpensive and replacing one takes under a minute.
Before each sewing session, rethread the machine completely from scratch with the presser foot raised, which matters because raising the foot releases the tension discs so the thread seats properly. Reseat the bobbin at the same time, make sure it clicks into place, then run about 10cm of stitching on a scrap of fabric to catch tension issues and threading errors before they eat into your deadline fabric.
When winding bobbins, keep a steady, moderate speed and avoid overfilling, since a bobbin wound unevenly or packed too full will cause inconsistent thread tension. Store pre-wound bobbins in a small box or the compartment inside your machine case so they do not unravel and shed loose thread where it can be pulled inside the machine.
For storage, keep the machine covered between projects, positioned away from drinks, radiators and curious small children, and always unplug before you clean it. On oiling: many modern domestic machines are self-lubricating and should not be oiled at all, as adding oil can damage plastic internal components. Your machine’s manual will confirm whether yours has designated oil points; if it does not mention oiling, leave that to a professional during a routine service.
Fast fixes: parent-proof troubleshooting for mid-project panics
Many of the most alarming-looking mid-project problems have a simple cause and a safe home fix. Before you panic, try a full reset, which solves the majority of issues without any tools or expertise.
The reset goes like this: 1. Switch off and unplug. 2. Fit a fresh needle. 3. Remove the bobbin and reinsert it correctly, checking it clicks or sits securely in its case. 4. Rethread the top thread completely from scratch with the presser foot up. 5. Sew a test seam on scrap fabric. These five steps, in that order, fix most common faults.
A bird’s nest of tangled thread bunched under the fabric is almost always caused by incorrect upper threading or a bobbin that was not properly seated. Cut the threads, slide the fabric free without yanking (pulling can bend the needle or damage the feed dogs), clear any visible lint, and then work through the reset above.
Skipped stitches on stretchy fabrics, such as leggings, school PE kit or dance costume Lycra, usually mean the needle is tired or the wrong type for the job. Switch to a fresh ballpoint or stretch needle, and make sure you are not pulling or guiding the fabric through; let the feed dogs do that work.
If the thread keeps breaking, work through a short checklist. Old or very cheap thread snaps more easily, so a fresh reel of reasonable quality makes a difference. Check that the needle is the right size for the fabric and that the thread path is smooth with no snags. If the upper tension feels too high, back it off by one number at a time and test on scrap.
A snapping needle is almost always caused by pulling fabric from behind, hitting a zip or button, or using the wrong presser foot for a thick seam. Stop immediately and remove every fragment of the broken needle before doing anything else, since pieces can damage internal parts if left inside the machine. After that, slow right down through bulky areas, use the correct foot for the job, and let the machine feed the fabric rather than forcing it.
If fabric is not moving or is bunching at the start of a seam, check that the presser foot is actually lowered, that the feed dogs are raised and lint-free, and that you are starting your seam a centimetre or so in from the fabric edge. A small scrap of fabric used as a leader, sewing off its trailing edge onto the real fabric, can also help when the machine struggles to grip at the very beginning of a seam.
One honest time limit: if a reset has not resolved the problem within 10 to 15 minutes and the same fault keeps returning, stop. Forcing a faulty machine through a deadline risks turning a minor issue into a serious one. If the quick fixes have not worked, professional help is the next step.
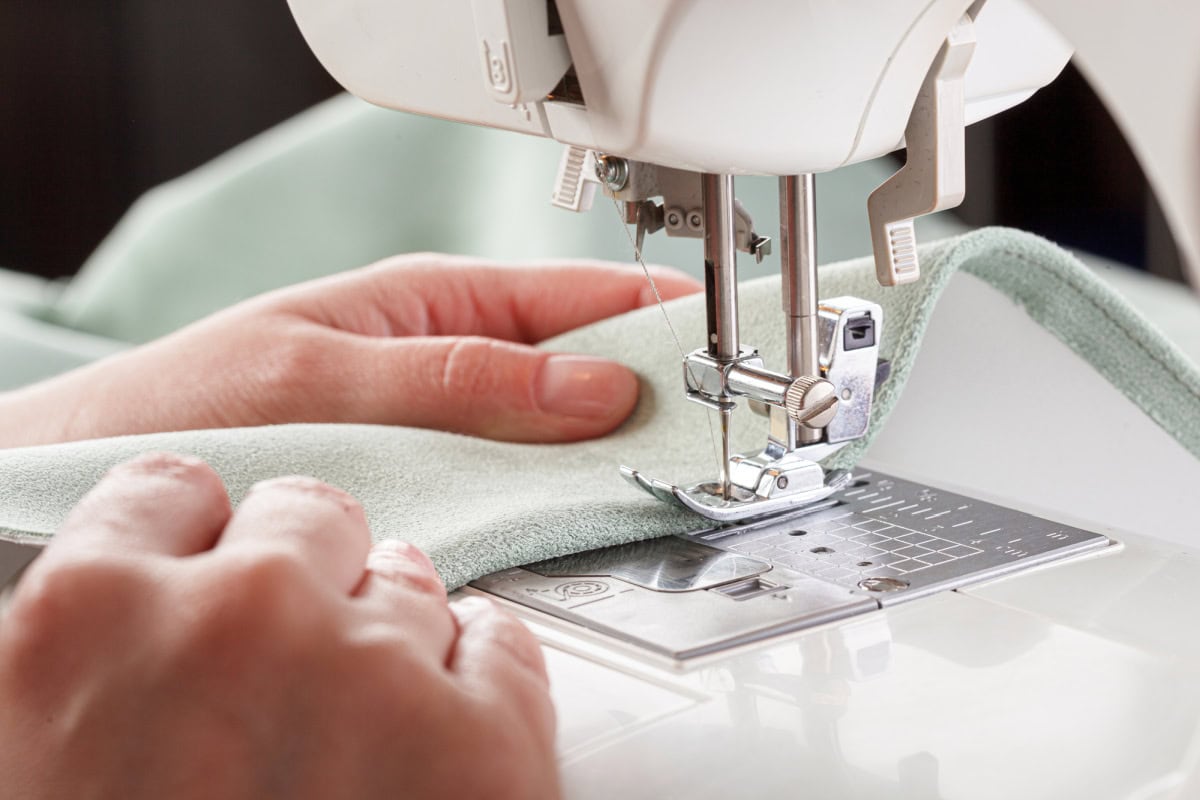
Red flags: when to stop DIY and protect your machine
Some symptoms are a clear signal to put down the fabric, switch off the machine, unplug it and arrange a professional assessment. Continuing to sew through these warning signs risks turning a repairable problem into an expensive one, or creating a safety hazard.
Stop and seek professional help if you notice any of the following. A burning, hot or electrical smell coming from the machine or foot pedal is serious and should be treated as a stop-now situation. Visible sparks, the machine slowing dramatically while the motor continues to hum, or a handwheel that has become stiff or impossible to turn by hand all point to internal mechanical problems that are beyond safe home troubleshooting.
Loud grinding, knocking or rattling noises, particularly ones that persist after you have cleaned the bobbin area and completed a full rethread, suggest something is catching or worn inside the machine. Similarly, if the needle is visibly striking the needle plate rather than passing cleanly through the needle hole, or if stitches are forming incorrectly across every fabric and thread combination despite a fresh needle and correct threading, the machine’s timing is likely out of alignment. Timing adjustments require a trained technician and should never be attempted at home.
Structural problems also warrant professional attention: a machine that has been dropped or knocked from a table, a cracked casing, a presser foot that sits visibly skewed, or a machine that vibrates excessively on the table even at low speed. On the electrical side, a foot pedal that sticks, overheats or delivers inconsistent power, or a display panel with glitching controls, should be unplugged immediately and not used until a professional has inspected it.
The decision here is straightforward: if one or more of these symptoms appears, do not sew on to finish the costume. Turn the machine off, unplug it, and contact a specialist such as Franklins Group for an assessment. Pressing on regardless is how a fixable fault becomes a full replacement.
What a professional service does (and why it pays off)
Home maintenance handles a great deal, but it cannot reach everything. A periodic professional service keeps the machine correctly timed, safely wired and running at its best, which matters a lot when it is working hard on school-deadline projects several times a year.
When a specialist such as Franklins Group services a domestic machine, they go considerably further than anything practical to do at home. That typically includes a deep internal clean to remove lint and debris from areas inaccessible through the bobbin cover, inspection of belts, gears and moving parts for wear, verification and adjustment of timing and tension calibration, safety checks on the electrics and foot control, and an assessment of any components that are close to the end of their useful life. It is the mechanical equivalent of a full car service rather than a tyre pressure check.
For a machine used regularly for children’s sewing projects, a full professional service every one to two years is a sensible interval. If the machine sees very heavy use across multiple costume seasons, regular clothing repairs or badge-sewing sessions, or if any of the red-flag symptoms described above appear, it makes sense to book sooner rather than waiting for the scheduled date.
It is worth being clear about the difference between a service and a repair. A service is something you book while the machine is mostly working well, as a preventive measure, whereas sewing machine repairs become necessary once the machine has already broken down. Routine servicing is considerably less expensive than emergency repair work, and far less disruptive than losing the machine for several days in the run-up to a school event.
The practical benefits for a family sewist are concrete: fewer last-minute disasters before World Book Day or the Christmas show, more consistent stitch quality on everything from Scout badges to handmade costumes, a longer machine lifespan, and lower overall costs compared with repeated emergency fixes. A visit to Franklins Group can also give you specific advice on the right needles, threads and accessories for your particular model, which makes the home maintenance between services faster and more effective.
Build a simple sewing survival plan around family life
The most effective maintenance routine is one you will actually do, which means it needs to fit around the reality of family life rather than demanding dedicated time you do not have. Think of it as a set of micro-habits, each taking two to five minutes, rather than a single monthly overhaul.
The easiest approach is to attach maintenance to things that are already happening. Brush out lint and check the needle while the oven preheats for dinner. Change the needle when you print or cut a new pattern. Put the dust cover on as part of tidying the dining table after a sewing session. These small anchors mean the machine is almost always ready for the next emergency project without any deliberate scheduling.
A compact sewing first-aid kit kept with or inside the machine removes the friction from all of this. Stock it with a small lint brush, a pair of tweezers for stubborn thread clumps, spare needles in the sizes you actually use (including a ballpoint or stretch needle for school PE and dance fabrics), a seam ripper, a small screwdriver for removing the needle plate, a few pre-wound bobbins in your most-used thread colours, and a scrap of plain fabric for test stitching. Having these to hand means a quick reset takes two minutes rather than a search through three drawers.
A simple log, whether a note in your phone or a sticky label on the machine, recording when you last changed the needle, last cleaned the bobbin area, and roughly when a professional service is due, is genuinely useful. It takes ten seconds to update and means you are not relying on memory to know whether the machine has been serviced in the last couple of years.
Finally, plan ahead for the school calendar. World Book Day, Christmas and end-of-year performances, summer shows, the September uniform rush: these are predictable peaks, and they are exactly when you least want the machine to let you down. If a service is due, book it with Franklins Group a few weeks before your busiest season rather than waiting to see whether the machine holds out.
The practical next step is simple: right now, after reading this, change the needle, brush out the bobbin area, and run a test seam. If the machine has not been professionally serviced in the past couple of years, or if anything in the red-flags section sounds familiar, schedule a visit to Franklins Group. A small amount of effort now is what keeps the machine running when it matters most: at 10pm, the night before.

- Simple Ways to Make Backyard Pool Maintenance Less Stressful for Busy Moms - October 1, 2026
- Why Every Crafty Parent Should Learn Basic Sewing Machine Maintenance (Before It Breaks Mid-Project) - October 1, 2026
- Understanding Your Property Rights When Entering a Lease - September 30, 2026