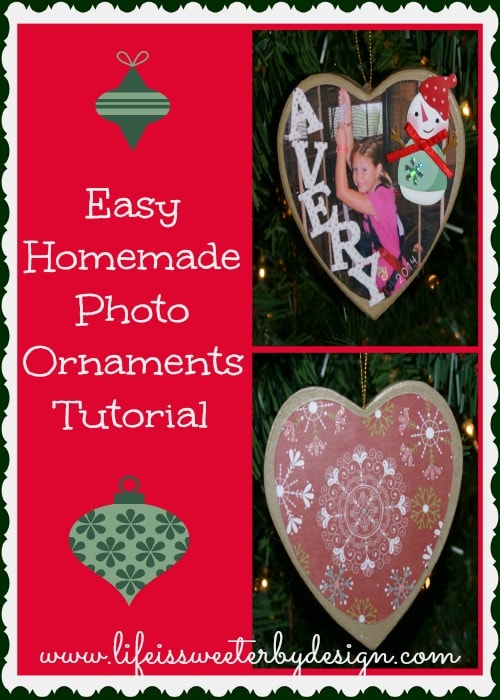
We buy our kids a new ornament every year. It is fun to pick an ornament that has a special meaning for that year of their lives. This year I decided to make them each an ornament with a picture of something memorable that happened this past year.
I decided to do a paper mache ornament using Mod Podge. This is a fairly easy project….the time consuming part for me was deciding which picture to use for each child's ornament. You could use your child's school picture for a quicker alternative!
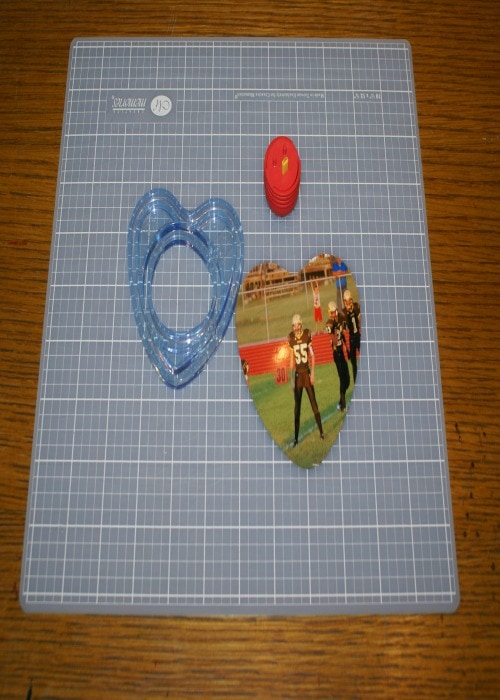
I used a heart-shaped paper mache ornament that is about 4 inches wide at its largest width. The ornament is flat…which is important for adhering a picture to. It is about 3/8″ thick. This ornament already came with a hanger…so that is one step I don't have to worry about.
I pulled out my old Creative Memories cutting system (one of the first things I bought when I started scrapbooking) and luckily for me the heart pattern was just the right size. If that hadn't worked I would have used the ornament itself to cut out a template. Then I would have just cut the pictures by hand with the template.
To make this even easier…you could get paper mache ornaments that are basic circles…easy peasy!
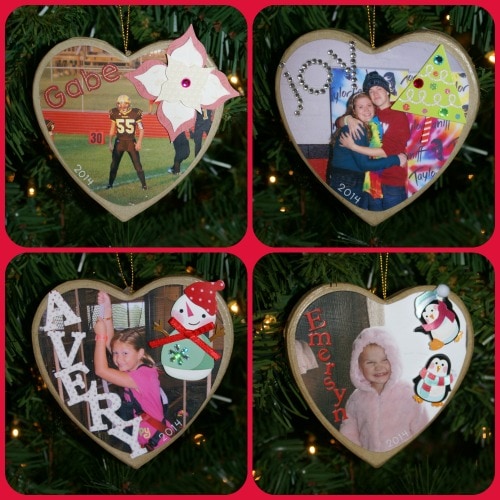
Here are a few things I did to make my ornaments more personal. I added their name using letter stickers. I also added the year 2014 to the ornament to help them remember years from now what year this ornament represents. I did Mod Podge over these stickers to keep them secure. I then added some 3 dimensional embellishments to jazz up the ornament.
I am working to use items I already have in my craft room. So I went through my Christmas sticker/embellishment bag and found some misc items I thought would be cute. Another way to go is to use small pieces of greenery, ribbon, buttons, etc. Really any idea you can think up would probably work and look adorable!
I like the rustic look of the paper mache so I chose not to paint mine before I started. If you don't care for that look you can paint the ornament and then none of the brown will show on the edges or sides.
Before you get started…..let me just say that if you aren't familiar with using Mod Podge….then I would advise you to go HERE and read more about it! I love the stuff…but I have had to do some trial and error and I have messed a few projects up along the way!!
Here are the basic steps to creating this ornament:
1. Choose a picture for your ornament.
2. Cut the picture down to fit on your ornament nicely.
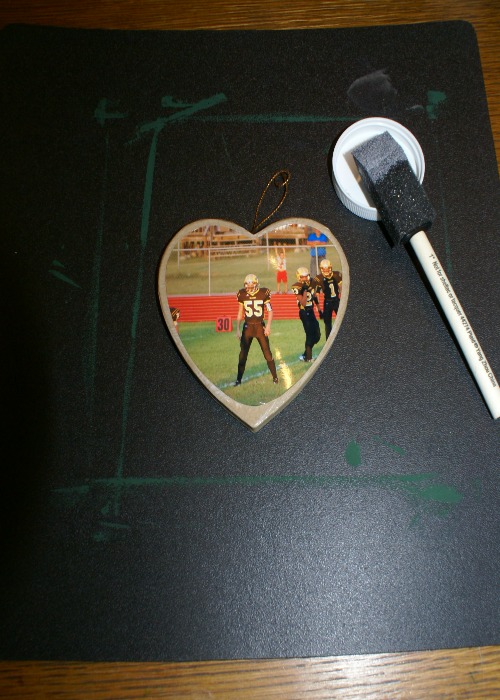
3. Apply a light coat of Mod Podge to the side of the ornament you plan to put the picture on. Place the picture on top of the Mod Podged area and gently run your fingers over the whole picture to make sure it adheres really well. DO NOT PUT MOD PODGE ON THE TOP OF THE PICTURE YET!!!
4. Allow the picture to dry onto the ornament for at least 30 min to 1 hour. While you are waiting you can pick out some Christmas cardstock or paper and cut it down to size for the back side of the ornament.
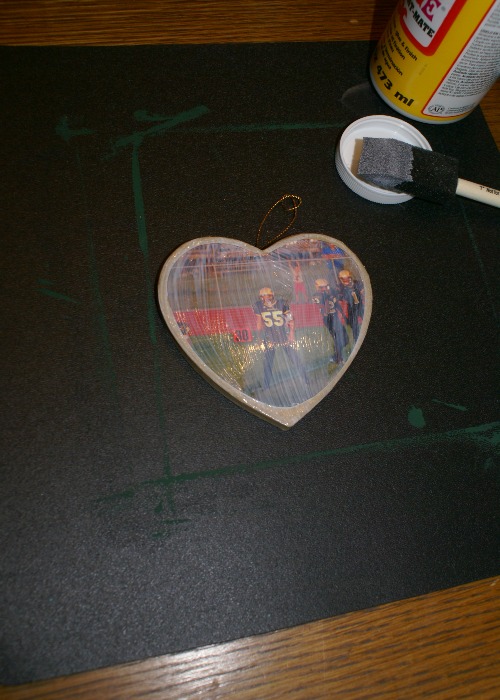
5. Once your picture has dried, apply a coat of Mod Podge to the top of the picture. Allow this coat to dry.
6. While this is drying you can decide if you want to add some embellishments to your ornament.
7. Turn your ornament over and follow the same directions for applying your festive paper to the back side of the ornament. Allow each coat to dry thoroughly before applying another coat.
8. You can embellish your ornament any way you like! Ribbons, stickers, 3 Dimensional embellishments, etc. If you use any flat embellishments then I would apply a coat of Mod Podge to them to keep them in place for years to come.
9. Hang on your tree and enjoy!!
Here is the finished products for all 4 ornaments! My kids loved the ornaments!!
I would love to hear if you decide to make an ornament…..or even better…send me a picture!!
This post contains affiliate links to help cover the costs of the blog. To read my disclosure policy to HERE.

- Easy Delicious Cajun Ham and Beans Slow Cooker Recipe - April 22, 2024
- Free Printable Graduation Coloring Pages for Kids - April 22, 2024
- Super Easy Buffalo Chicken Wraps Recipe (Healthy!) - April 15, 2024
It’s always fun to incorporate photos that evoke memories into our ornaments! Thanks for sharing it with Creating Christmas.
hugs,
Jann