A surprising number of UK parents already own a sewing machine and use it reasonably well, but the idea of bringing a primary-age child alongside them at it produces a very specific kind of dread. What if someone gets hurt? What if the project falls apart halfway through? What if the whole thing ends in tears before the bobbin is even threaded? Those worries are completely understandable, and they are also, mostly, solvable.
Sewing with kids works best when it is treated as shared making time rather than a lesson. The goal is not to produce a perfect result or to impart a formal skill set; it is to make something together and finish it. Keep that in mind and the pressure drops immediately. Projects need to be tiny, achievable in a single sitting, and forgiving of the kind of wobbly stitching that is, honestly, charming on a six-year-old’s first tote bag. Mess will happen. Threads will end up on the floor. That is fine.
This guide walks through setting up a calm, safe first session, picking a project your child will actually want to finish, and using a handful of simple machine feet and accessories, the kind available from Juki UK alongside their family-friendly machines, so the sewing machine works with small, impatient hands rather than against them.
Set the tone: low-pressure ground rules for your first sewing session
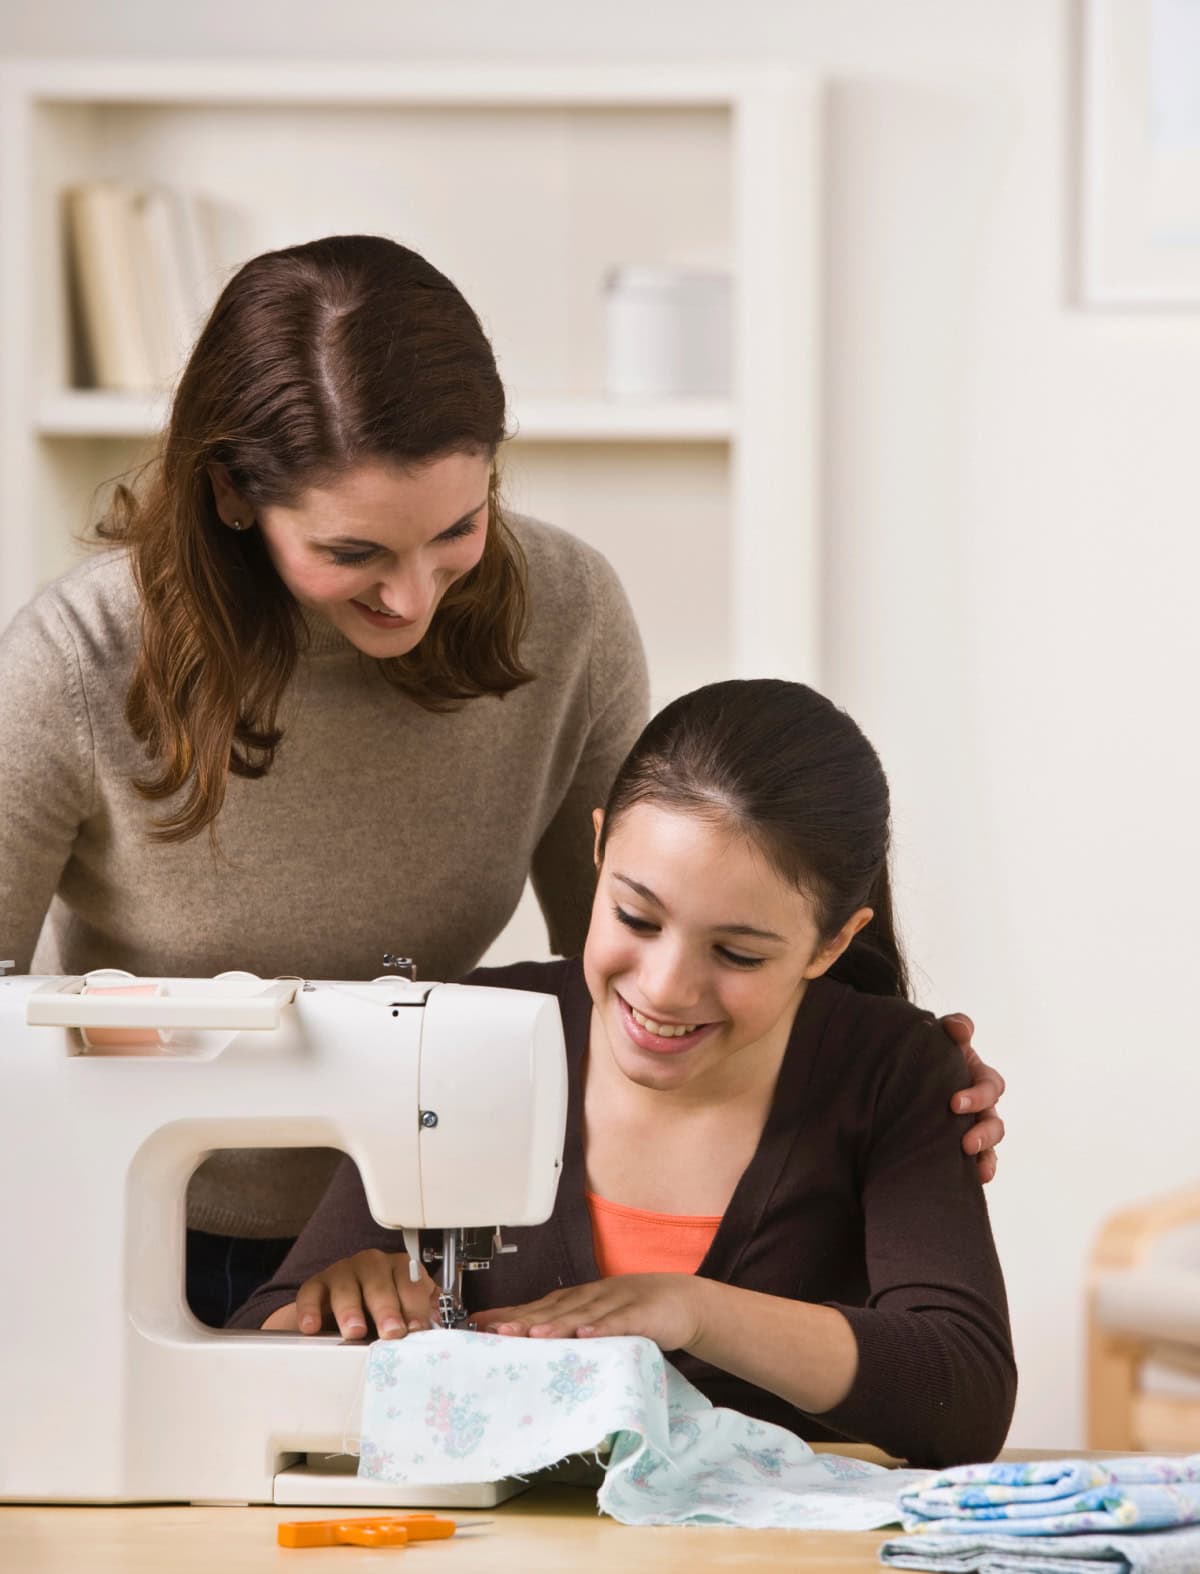
The single most useful reframe is this: say “let’s make something together” rather than “today you’re going to learn to sew”. One sounds like an adventure; the other sounds like homework. That distinction matters more than you might expect, because it takes the performance pressure off both of you.
Keep the time window realistic. For younger primary-age children, 15 to 30 minutes of actual sewing is plenty; older ones might manage 45 minutes before concentration slips. The trick is to stop while they are still enjoying themselves, not after boredom has set in. It is far better to end on a high, with a “we’ll finish the handles next time”, than to push through to a fraying, grumpy conclusion.
Normalise the mess and the mistakes before you start. Threads on the floor, a slightly crooked seam, a section that needs unpicking: these are not failures, they are sewing. Saying so out loud, early, means neither of you feels bad when they happen. For a first session, one-to-one works far better than a group of children, simply because close supervision at the machine is much easier with a single child beside you.
A small ritual helps set the mood. Clear the table together, put on some music, let the child choose a thread colour or pick a pin cushion; it signals that this is special, shared time rather than a chore. And if your child only manages a few seams before they are done? That is fine. You can quietly handle the last steps yourself so the project still gets finished, which matters enormously for their sense of achievement.
Safe, kid-friendly machine set-up: fabrics, tools and supervision
Fabric choice does a lot of the heavy lifting in a first session. Medium-weight cotton or poly-cotton blends are ideal because they feed smoothly, hold their shape under small hands, and are forgiving if a seam is slightly off. Avoid anything stretchy, slippery or very thick, so no satin, no knits, no denim to start. Bright prints featuring things the child loves, dinosaurs, space, their favourite colours, are worth seeking out deliberately, because a child who is excited about the fabric is a child who wants to finish the project.
For supplies, you need less than you think. Good-quality thread in a colour that contrasts with the fabric is genuinely useful, because visible stitches help children see what they are doing. Keep sharp fabric scissors for adult use only, and use a few pins or wonder clips rather than a pile of them. A fabric marker or chalk for any lines, and a tape measure, round out the basics.
On the machine itself, set a straight stitch at a medium length and, if your machine has it, use the speed limiter so the fabric feeds at a steady, controllable pace. Juki machines with speed control are particularly useful here, as a calmer feed rate gives a child time to guide the fabric without panicking. A strip of masking tape placed directly on the machine bed as a seam guide, at a simple allowance of 1 cm or half an inch, lets children line up their fabric edge visually without having to read a ruler.
Safety rules should be agreed before anyone sits down. The adult controls the power switch. The child keeps fingers behind a marked line well away from the needle, and you can put a piece of tape there too. Only one pair of hands on the fabric at a time, and hair, loose sleeves and jewellery are tied or rolled back before the session starts. Stated calmly and consistently, these become just the rules of the machine rather than a scary warning.
Choosing first projects that actually get finished
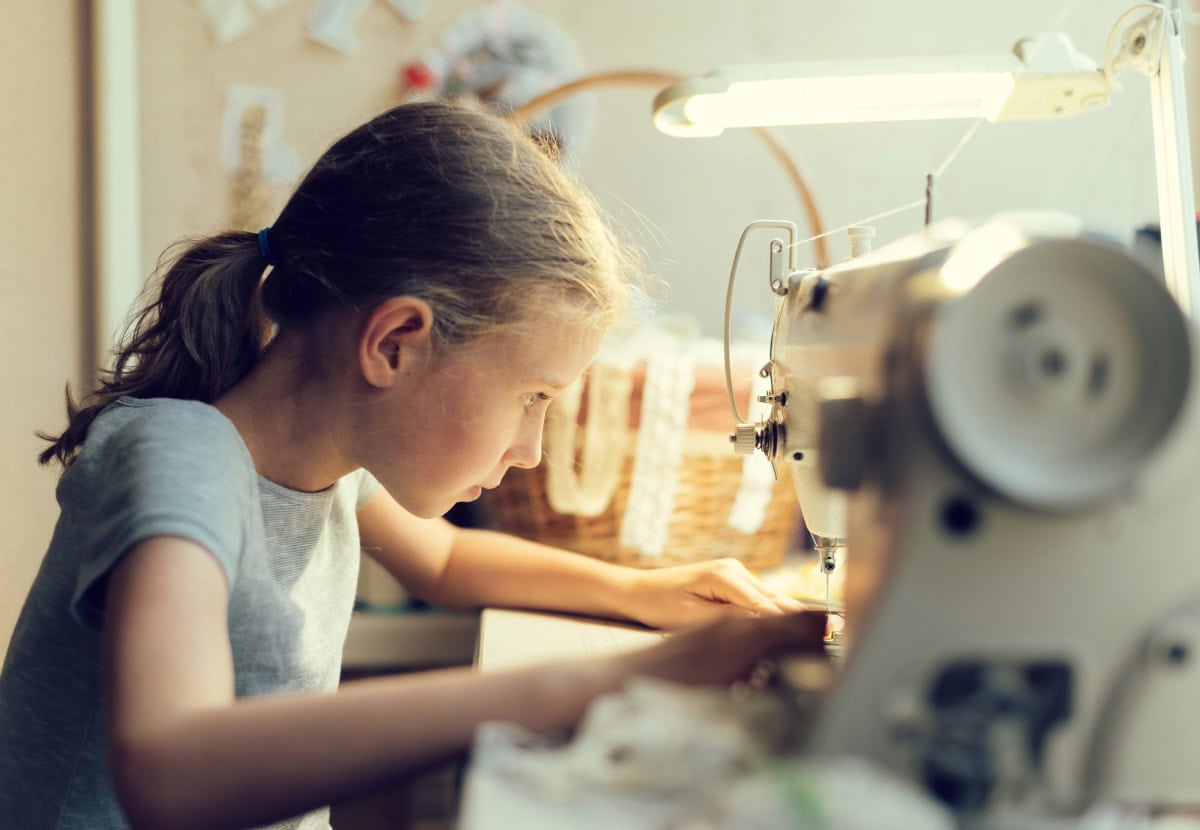
A good first project has four qualities: it involves only straight seams, it is small enough to finish in one sitting, it involves minimal measuring, and it produces something the child will immediately use or play with. That last point is not trivial. A child who finishes a bag that immediately holds their favourite toys has experienced the full reward loop of making, and is far more likely to ask to sew again.
Here are four project types that consistently work well, matched to different ages and attention spans.
1. Mini pillow or cushion for a toy. Two same-size rectangles, sewn around the edge leaving a gap, stuffed, then closed. Suitable from around age five with plenty of adult help, and the stuffing step is pure joy for small hands.
2. Tiny tote or treasure bag. A rectangle of fabric (roughly 18 by 8 inches is a workable size), folded in half, with two side seams and a turned-down top hem, plus simple webbing straps pinned and stitched in place. With adult cutting done in advance, a child can complete the sewing in under half an hour, and the result is immediately useful.
3. Simple drawstring bag. One or two rectangles with a channel seam at the top and side seams. Threading the cord by hand at the end gives the child a satisfying non-machine task to own completely.
4. Flat bookmark or fabric strip bracelet. One or two layers stitched around the edge, a very fast win, ideal for children with particularly short attention spans or as a warm-up project before something slightly bigger.
The key preparation habit is to do all cutting and machine threading before the child arrives at the table, so the time you spend together is almost entirely hands-on sewing. Waiting around while an adult cuts straight lines is where enthusiasm quietly drains away.
Keeping kids involved at every stage of the project
The more ownership a child feels over the finished item, the more they care about finishing it, so it is worth finding genuine jobs for them at every stage rather than just at the machine.
Before a stitch is sewn, let them choose from two or three suitable fabrics you have pre-selected. Let them pick the thread colour, or decide on a simple decoration like an iron-on patch or an embroidered initial. These choices are theirs, which means the finished thing is theirs.
In the preparation stage, show children how to place pins or clips at right angles to the fabric edge. An adult handles sharp pin points for very young children, but older ones can do this themselves with a quick demonstration. Matching up corners and edges before pinning is a satisfying, tactile job that genuinely matters to the outcome.
At the machine, the adult controls the foot pedal and the speed while the child’s job is to steer the fabric gently with both hands, keeping fingers safely behind the presser foot. Count stitches aloud together, or challenge them to keep the fabric edge on the masking tape guide, and it becomes a game rather than a task. Give them specific buttons to press on cue, the needle-up button, the reverse stitch, raising and lowering the presser foot lever. These are safe, satisfying jobs that create a genuine sense of participation and let the child feel they are operating the machine rather than just watching.
For pressing and finishing, older children can help lay fabric on the ironing board while the adult controls the iron entirely; younger ones can turn the finished item right-side out, poke corners with a blunt pencil, and add stuffing. Finally, name what they did well specifically: “you kept that seam really straight” or “your fabric choice makes this look brilliant”. Specific praise lands much better than general encouragement, and it gives them an accurate sense of their real contribution.
Using sewing machine feet as secret helpers for young sewists
Presser feet are one of the most underused tools in beginner sewing, and for parent-child sessions they are genuinely transformative. Think of them as little helpers that clip onto the machine to guide fabric and keep stitches neat, making it much easier for small, impatient hands to get a result they are proud of.
The standard or all-purpose foot is where almost every family will start, and it is perfectly suited to the straight seams on early projects like mini pillows and tote bags. Most children’s first sessions will not need anything else, and that is fine.
Once a child has had a couple of sessions, an edge-stitch or guide-style foot, sometimes described as a blind hem foot, becomes a clever addition. The built-in metal guide rides along the fabric edge, so the child can focus on following the guide rather than watching the needle directly. The result is noticeably neater topstitching around a bag top or along a bookmark, without the child needing to develop a more experienced eye.
A walking foot, or even-feed foot, is worth knowing about for any project with multiple layers. It feeds the top and bottom fabric at the same rate, preventing the slipping and shifting that happens when a child is concentrating on steering and cannot easily correct a drifting seam. It is particularly useful for slightly thicker fabrics or when making a simple quilted item.
A zipper or narrow foot is worth introducing once a child is confident with straight seams, as it allows sewing close to edges cleanly. Actual zips are best saved for later projects, but the foot itself is a natural next step when a child is ready for more precision.
Introducing a new foot can become part of the session ritual: switch the machine off together, let the child lift the presser-foot lever, press the release button, and click the new foot into place. It makes the machine feel understandable rather than mysterious, and children who understand their tools are children who want to use them again. Having the right sewing machine presser feet on hand means parents can add just one or two helper feet as their child’s skills grow, rather than buying everything at once, and Juki UK offers a range of compatible options and starter accessory sets for their machines.
Turning hiccups into wins and planning your next parent-child make
Things will go wrong, and that is not a problem; it is an opportunity, if you handle it calmly. Crooked seams, tangled thread, accidentally sewing the bag shut: all of these are normal, and the way an adult responds to them teaches a child more about sewing, and about resilience, than any technique.
When something goes wrong, model the response you want. Take a breath, switch the machine off, and talk through what happened without frustration. Unpicking is a particularly good shared task. Show the child how a seam ripper works, then let them carefully undo a short section themselves while you hold the fabric steady, and frame it as “fixing” rather than “starting over”, because that is exactly what it is.
For boredom halfway through, have a backup plan ready. Agree in advance that you can stop after one seam and come back to it, or redirect the child to a different task, adding stuffing, turning the item right-side out, drawing a label, while you complete the last seams yourself. The project gets finished; they still feel involved. Resist the urge to redo everything when the result is imperfect. Wobbly edges on a six-year-old’s first bag are not a flaw; they are evidence of a child learning. Point out what went well, specifically, rather than drawing attention to what did not.
End every session with a small moment of celebration. Take a photo, let the child show another family member, or put the item straight into use. That finish-line moment is what they will remember, and it is what will make them ask to sew again next weekend.
Between sessions, note what worked, project size, fabric choice, timing, and what felt rushed or tricky. The next project should be just one small step more challenging, not a leap, because steady progression is what builds real confidence over time. For families ready to invest more in their sewing together, Juki UK’s range of machines and accessory packs is worth exploring: reliable, smooth-feeding machines with speed control and clear seam markings make a genuine difference to those early sessions.

- 5 Fruit Delivery Brands for Thoughtful Gifts on Any Occasion - September 25, 2026
- How to Start Sewing with Your Kids: A Parent’s Guide to First Projects That Actually Get Finished - September 25, 2026
- How to Choose the Right Smart Battery Charger for 6V, 12V, and 24V Batteries - September 24, 2026