For backyard cooks who want bold flavor, the best way to sear a thick steak is over live charcoal embers. Red-hot coals create a rich, brown crust that locks in juices and adds a deep smoky flavor.
Searing over charcoal can be tricky, as it can burn the edges or leave the centers raw. Following a simple step-by-step process yields a golden crust and a tender interior. Here are eight steps to master high-heat searing on a charcoal grill.
1. Lighting Quality Charcoal Efficiently
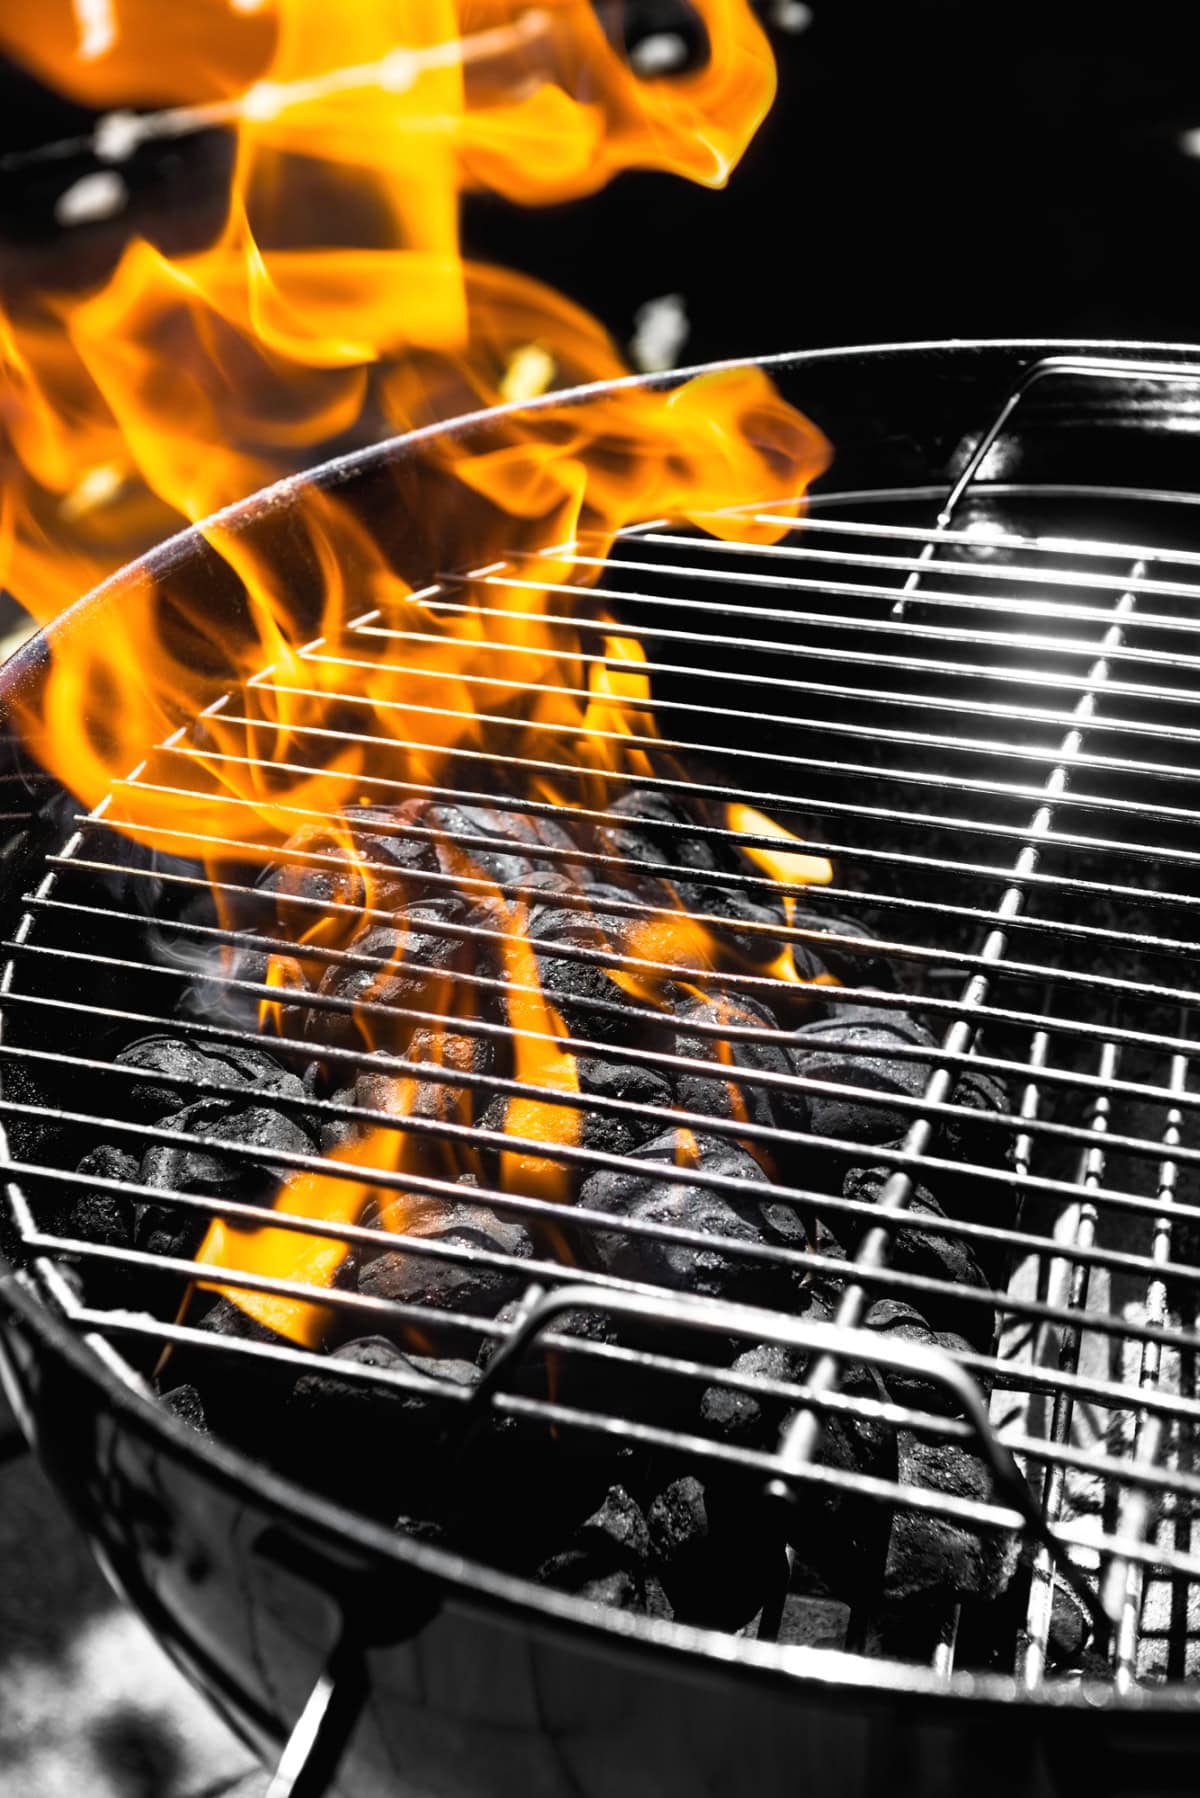
The first step in achieving a fantastic sear is to use a chimney starter to light lump charcoal or dense briquettes. Never use liquid lighter fluid, as petroleum chemicals leave foul odors on your grates and ruin the flavor of your food. Wait until your coals are completely covered in grey ash before you start grilling. This will ensure that you get the most radiant heat possible.
To ensure that your fuel is properly prepared, follow these fundamental steps:
- Use a Chimney Starter: Light coals quickly and evenly without chemical lighter fluids
- Wait for Full Ash Cover: Ensure your coals are glowing red and covered in ash before pouring them out
- Choose Quality Fuel: Dense hardwood lump charcoal burns hotter and cleaner for fast surface searing
2. Banking Coals for Two-Zone Cooking
Spreading hot coals evenly across the bottom of your charcoal bbq dilutes the heat, making it hard to get a deep sear. Instead, stack all your lit coals on one side of the grill floor to create a concentrated direct-heat zone. Leave the other side empty to create a cool indirect zone where food can cook gently without burning.
Building a two-zone fire offers clear cooking benefits:
- Maximum Surface Heat: Concentrates intense heat in a small area for rapid crust development
- Built-in Safety Zone: Gives you a cool side to move meat away from sudden flare-ups
- Versatile Setup: Sear steaks directly over the coals, then move them to the cool side to finish cooking
3. Preheating and Cleaning Grill Grates
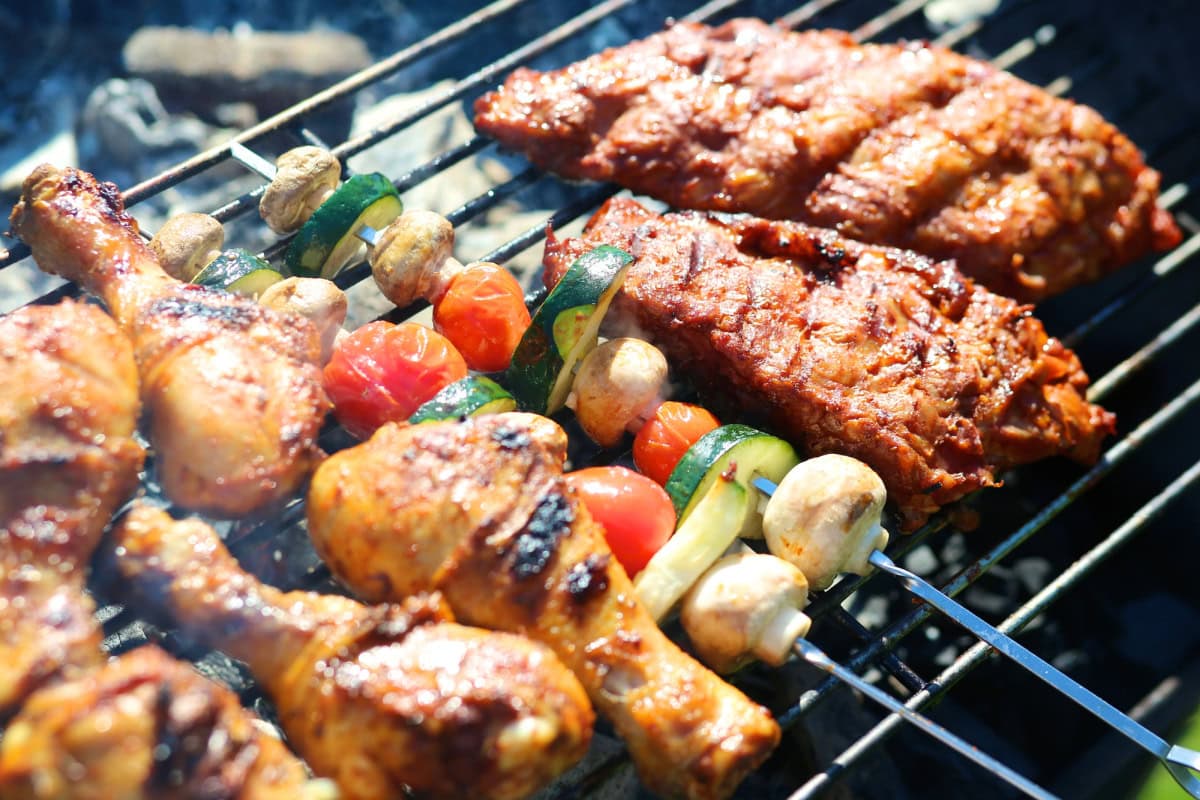
Proper grate care prevents delicate meat fibers from sticking and tearing when you flip them over. Set your clean grates directly over the banked coals, close the lid, and let them absorb heat for 5 to 10 minutes before adding meat. A hot grate sears the surface on contact, releasing the meat easily instead of sticking to cold metal.
Prepare your grates with these quick steps:
- Scrape Away Carbon: Scrub the hot grates with a heavy-duty grill brush or scraper to remove old food debris
- Oil the Metal: Dip a folded paper towel in high-smoke-point oil using long tongs, then lightly coat the grate bars
- Test the Surface: Hold your hand three inches above the hot grate; it should feel too hot to hold for more than two seconds
4. Drying and Seasoning Meat Surfaces
When meat is wet, it steams on the grates rather than browning, which is why surface moisture is the enemy of a perfect sear. Patting meat completely dry with paper towels ensures it starts browning the moment it hits the heat. A flavorful and crisp crust can be achieved by applying a light coating of high-heat oil and coarse salt right before grilling the food.
Follow these steps to prepare your meat:
- Pat Dry: Press paper towels firmly onto all surfaces to remove excess moisture
- Apply Oil: Lightly coat the meat with high-heat oil to transfer heat evenly from the metal grates
- Season Generously: Sprinkle coarse salt right before cooking to enhance flavor and build a crispy crust
5. Flipping Frequently over Direct Heat
Place your seasoned meat directly over the hot-banked coals. To achieve a crust that is golden brown and not overcooked, flip the meat every thirty to sixty seconds. This will prevent the outer layers of the meat from becoming crispy. Turning the meat frequently prevents it from burning and reduces the likelihood of flare-ups caused by dripping fat.
Frequent flipping helps to ensure that the surface is cooked evenly and reduces the total amount of time spent cooking. If dripping fat catches fire, simply slide the meat over to the indirect side for a few seconds until the flame dies down.
6. Moving to Indirect Heat to Finish
Check the temperature on the inside of the dish once you have a crust that is rich on both sides. Remove the lid from the grill and move the thick cuts, such as ribeyes or pork chops, to the cool indirect side of the grill. This will allow them to cook through more thoroughly.
To achieve the desired temperature in the center of the meat without causing the crust to burn, finishing the meat should be done over indirect heat.
Thick cuts take longer for heat to reach the core. By moving them away from the direct flame, you can allow hot air to roast the center of the object while maintaining a rich mahogany brown color on the surface.
7. Measuring Doneness with a Thermometer
There is a possibility of obtaining inconsistent results if you rely on color, timers, or poke meat with your finger. When it comes to determining whether or not your food is ready, the most reliable method is to use a digital instant-read thermometer. In order to avoid bones and large fat pockets, the probe should always be inserted into the thickest part of the meat.
Remove meat from the grill when it hits these target temperatures:
- Rare: Pull at 120°F (49°C) for a final rested temp of 125°F (52°C)
- Medium-Rare: Pull at 130°F (54°C) for a final rested temp of 135°F (57°C)
- Medium: Pull at 140°F (60°C) for a final rested temp of 145°F (63°C)
- Account for Carryover Cooking: Internal heat causes the temperature to rise another 3°F to 5°F (2°C to 3°C) while the meat rests
8. Resting the Meat for Peak Juiciness
When you cut into meat immediately after grilling it, the tight muscle fibers cause valuable juices to be squeezed out, which results in your meal being dry. After the meat has been cooked, allow it to rest undisturbed for five to ten minutes on a warm cutting board or platter before carving it.
Protect your meal while it rests:
- Relax Muscle Fibers: Resting lets internal temperatures equalize, and muscle tissue relaxes, reabsorbing juices into the center
- Protect the Crust: Avoid wrapping seared meat tightly in aluminum foil, as trapped steam softens the crispy surface
- Add Finishing Touches: Add a slice of compound butter or a sprinkle of flaky sea salt right before serving to elevate the crust
Unleash Authentic Charcoal Flavor Today
Searing over live charcoal embers is a satisfying skill that elevates your backyard meals. Banked coals, dry meat surfaces, frequent flips, and two-zone setups give you complete control over high-heat cooking. You can achieve steakhouse-quality crusts and juicy interiors on every cookout.
Upgrade your setup with a chimney starter, practice these proven steps, and enjoy better grilling results at home today.

- Why Some Homes Feel Magical at Christmas (And Others Just Look Decorated) - October 21, 2026
- The Modern Mom’s Guide to Building a Sustainable Wellness Routine - October 21, 2026
- The Fall Fix-It List: 9 Small Home Repairs to Handle Before Winter - October 21, 2026