We are getting close to turkey day and this easy DIY Thanksgiving centerpiece will make your table look fantastic! It isn't hard to decorate during the Fall season and it doesn't take a lot to give your home a welcome feeling for guests.

DIY THANKSGIVING CENTERPIECE
The best part about fall is spending quality time with family and being outdoors! Seeing the seasons change is one of my favorite things. Decorating for fall is simple because it is kind of like bringing the outdoors inside. Leaves, pinecones, branches, etc all make excellent decor items for a Thanksgiving centerpiece.
MATERIALS NEEDED FOR A FALL CENTERPIECE
I love craft projects that allow for creative discretion and this one definitely does. You can use the exact items I list or just get things that are similar. There is really no wrong way to do a centerpiece.
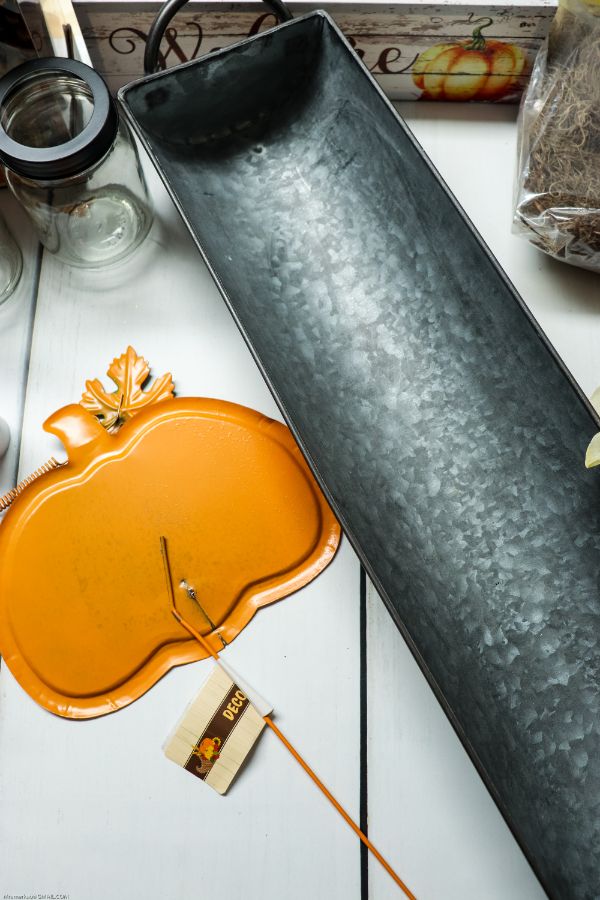
- Metal Galvanized Tray 22-24 inches long–these are easy to find at craft stores or this one
 from Amazon is nice.
 - Small Gray Cement Pumpkin
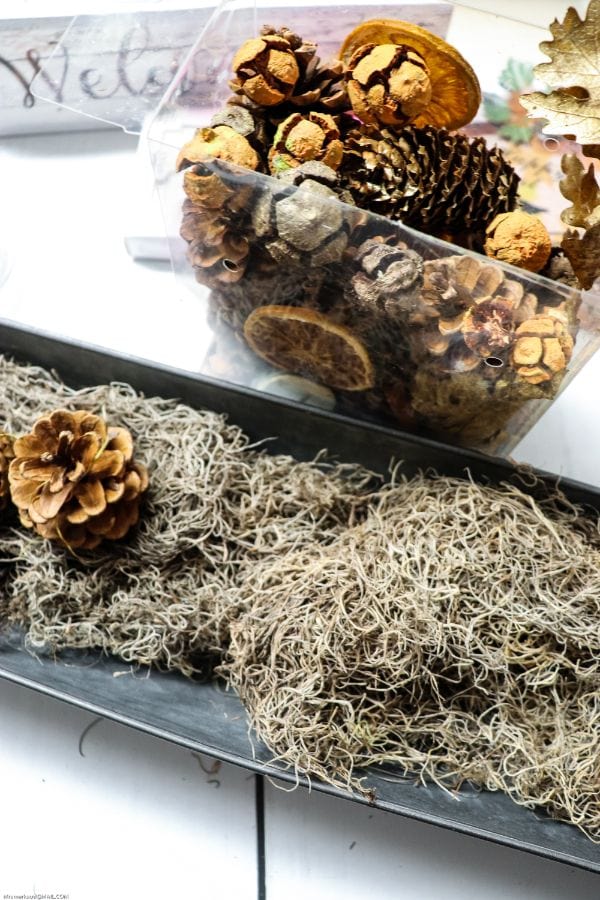
- Fall Potpourri Blend that has small pumpkins, pinecones, etc.
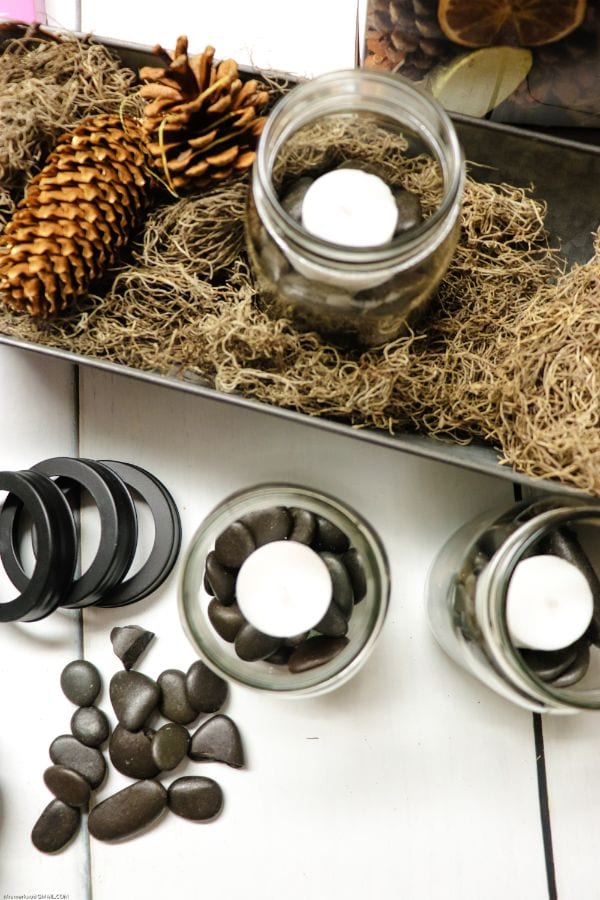
- 3 Glass Jar Candle Jars (Dollar Tree carries these)
- 3 Votive Candles (Dollar Tree carries these)
- Burlap Leaves
- Fall Metal Sign or Tray–something decorative
- Misc. Florals–Dollar Tree usually has these during the Halloween and Fall seasons
- Spanish Moss–Dollar Tree usually carries this item
- Decorative Black Rocks
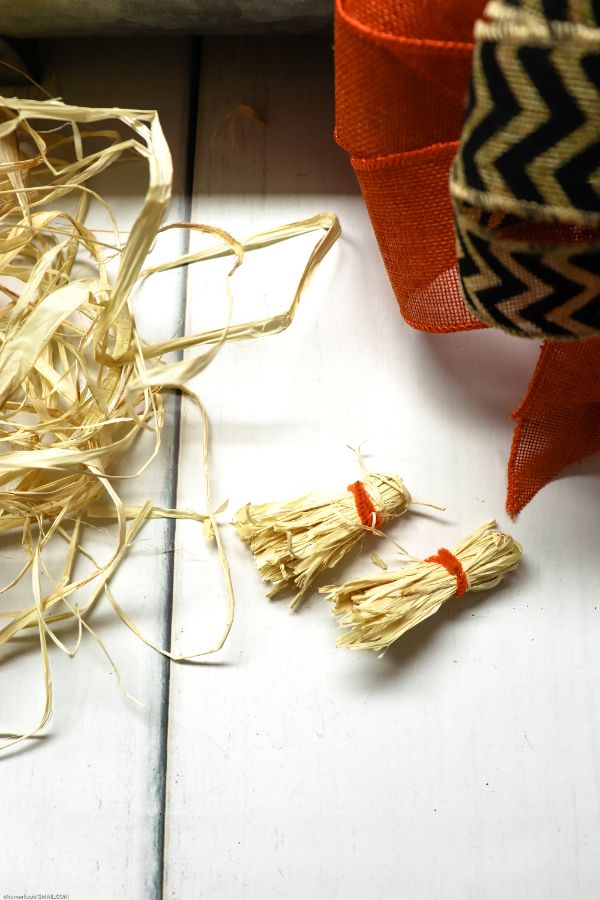
- Raffia
 from Amazon is nice.
  that has small pumpkins, pinecones, etc.


HOW TO MAKE A DIY THANKSGIVING CENTERPIECE
This easy fall DIY project is all about laying out the items in a pleasing way in the tray. When you have it all laid out how you like it you are done.
Remember….you only have to please yourself here because it is your house! 🙂 It is also fine to use a smaller metal tray if you have a small table!!

STEP ONE: PREPARE ITEMS
Start off by gathering all the items you will need for this project. You want to be able to visualize things and move things around without stopping to search for more supplies.
Remove all the tags, stickers, etc from any of the items. The metal stick was taken off the pumpkin sign because it wasn't needed.
STEP TWO: SPANISH MOSS
Now you will take the Spanish moss and spread it into the bottom of the long metal tray.
STEP THREE: PREPARE JARS
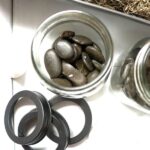
Take the black rocks and put a handful of rocks into the bottom of the candle jars and add a votive candle on top of each one.
Place the candles in the tray in a way that you like. You can either center them together in the center or spread them out evenly. Both ways will look great for this Thanksgiving centerpiece!
STEP FOUR: ADD POTPOURRI
Now take the dried fall potpourri and add it around the tray and in between the candles.

STEP FIVE: ADD FLORALS
Cut the floral pieces down so they have a shorter stem. Tuck them into the tray in various areas so they look nice.
Add the small ceramic pumpkin to one end of the tray.

STEP SIX: RAFFIA
Take the raffia and cut a bunch of it about 6 inches in length. Fold it over and tie it with string or secure it with a pipe cleaner near the bottom. Trim the tops of the raffia so they resemble corn stalks or straw. Position these throughout the centerpiece.
Add the fall-themed metal sign behind the candles and you are done with this adorable Thanksgiving centerpiece.

WAYS TO SAVE MONEY ON THIS FALL CENTERPIECE
I love to decorate my home but I don't like to spend a lot of money to do it! Here are some easy suggestions for ways to make this project without spending very much money.
If you save enough money you could make an extra centerpiece to give someone as a gift!
- Look for items you already have at home. I had quite a few floral stems from past crafts that worked.
- Get pinecones from outside! If you have pine trees near your home just grab some from the outdoors and use those in the centerpiece.
- Shop the after season sales for great deals on seasonal craft supplies.
- Check Dollar Tree because many of the items used for this project were purchased there and it is only $1.
- Use jars that you have at home for this project. Almost any jars would work!
- Check garage sales because I see crafting supplies all the time for SO CHEAP!
- Reuse items from old decorations you don't use anymore but haven't gotten rid of yet.

THANKSGIVING CENTERPIECE PRINTABLE DIRECTIONS
If you like to print off the exact directions and supplies for your projects you can print this off via the card below!

This easy DIY Thanksgiving Centerpiece will only take about 20 minutes to make and your table will look beautiful for your guests.
- 1 Metal Galvanized Tray 22-24 inches long
- 1 Gray Cement Pumpkin
- 3 votive candles
- 1 bag Fall Themed Potpourri with small pumpkins, pinecones, etc
- 3 Glass Jar Candle Jars
- burlap leaves
- Fall themed metal sign
- Fall floral stems
- Spanish moss
- black rocks
- raffia
-
Gather materials and remove any tags or stickers from the items.

-
Spread Spanish moss into the bottom of the tray. •
-
Place a handful of black rocks into the bottom of the candle jars and add the votive candle on top.
-
Center the candles in the tray or spread them out.
-
Add the dried potpourri to the bottom of the tray and spread it around.
-
Cut florals down to size and tuck them into various areas around the tray. Add the ceramic pumpkin to one end of the tray.
-
Cut a bunch of raffia to 6” in length. Fold over and tie with string or pipe cleaner near the bottom. Trim the tops of the raffia so they resemble corn stalks or straw.
-
Add your fall-themed sign behind the candles.


If you enjoyed this fall craft be sure to check out these other fall-themed posts:
- Easy Scarecrow Pudding Cups for Fall
- Free Thanksgiving Color Pages
- Fall Quotes and Sayings for Scrapbooking
- Easy No-Sew DIY Sweater Pumpkin
Don't forget to PIN this post!


- What an ENT Doctor Actually Treats and the Right Time to Book a Visit - July 10, 2026
- Simple Storage Ideas to Make Every Room More Functional - July 9, 2026
- How to Plan a Blepharoplasty Procedure Around a Busy Family Schedule - July 9, 2026


