Kids will love making this glittery fall slime with leaves inside. It is a great kids activity for autumn and looks so pretty in a clear container!
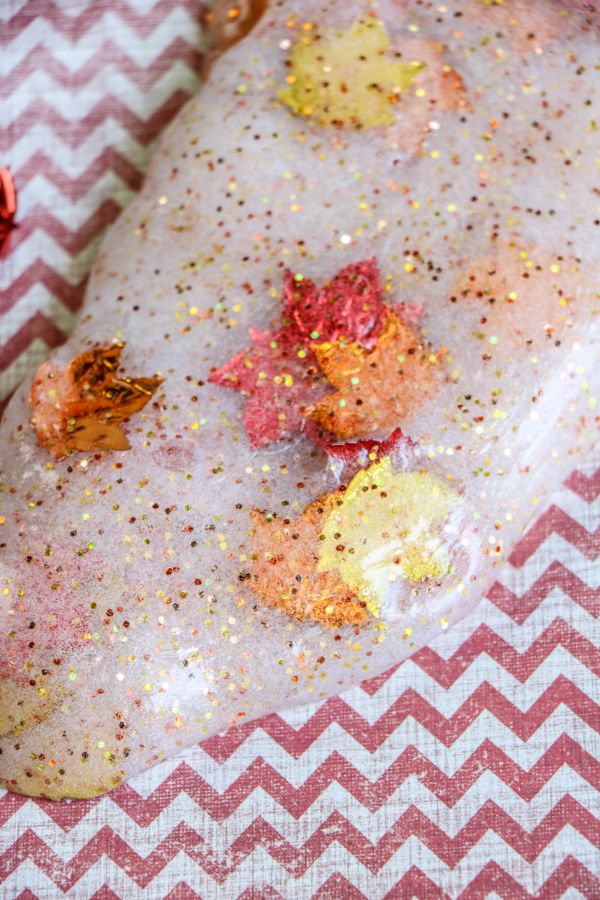
Table of Contents
BENEFITS OF MAKING SLIME
I have a daughter who has been obsessed with slime for a while now. It is kind of a pain for me as a mom. I have to buy the ingredients and sometimes she doesn't clean up her mess as well as I would like her to.
BUT….there really are some benefit to letting your kids make slime at home.
First off they are having fun and doing science at the same time. Next is the fact that they are doing an activity that doesn't involve being on electronics!
The last great reason is that they have a chance to be creative. Did I mention that kids love slime?? Sometimes it is good to just say YES as a parent.
SUPPLIES FOR FALL SLIME
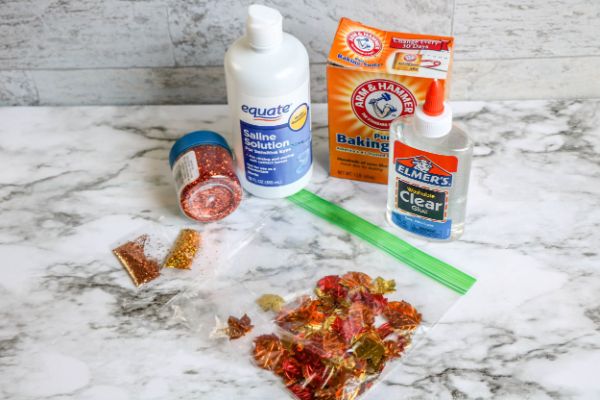
This fall slime recipe requires the typical slime ingredients. We always have a supply of these in our cabinet!
- 6 ounces clear Elmer's Glue
- 1/4 cup Warm Water
- 1/2 teaspoon Baking Soda
- 1 1/2 tablespoon Contact Lens Solution (with boric acid)
- Glitter (we used copper
, red and gold–about 1 1/2 tablespoon total)
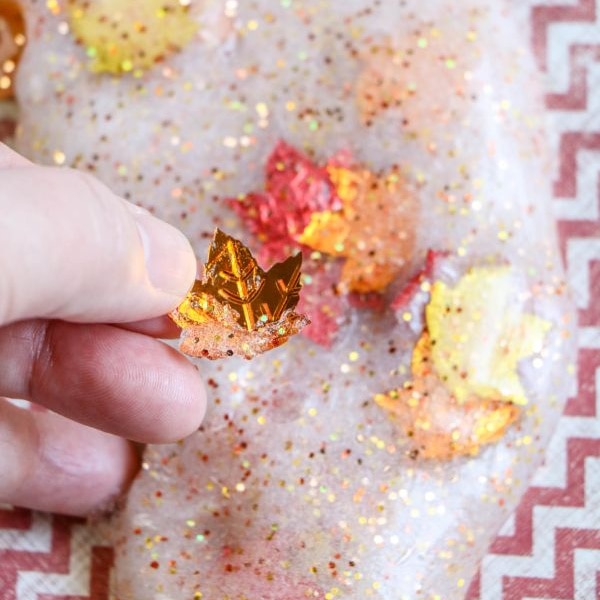
- Maple Leaf Foil Confetti
HOW TO MAKE GLITTERY FALL SLIME WITH LEAVES
Once you get the hang of making slime it will become second nature. If this is your first time to make slime just follow the directions and it will get easier each time!
STEP ONE: MIX GLUE AND WATER
Start off by emptying the 6 ounces of clear glue into a large bowl. It helps to buy a bottle that is 6 ounces. 🙂
Take the empty glue bottle and fill it about 1/3 of the way full with warm water. This will be about 1/4 cup of water. Put the lid back on the glue bottle and shake it up really well.
Pour the water/glue liquid from the glue bottle into the bowl of glue and stir it all up.
STEP TWO: ADD BAKING SODA
Now add the baking soda to the glue and water mixture in the large bowl.
Stir to mix these ingredients thoroughly.
STEP THREE: ADD GLITTER
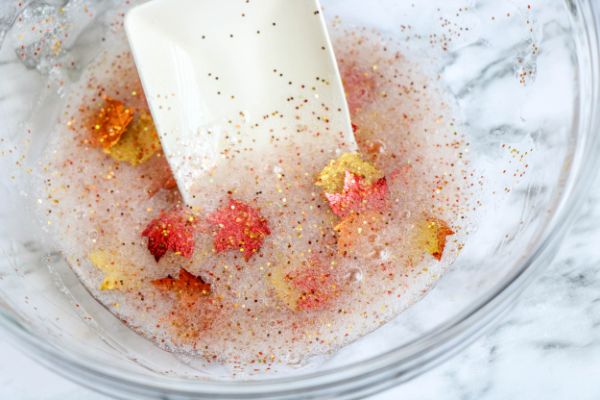
Time to add the pretty glitter to the bowl. Stir to mix all the different colors of glitter into the glue mixture.
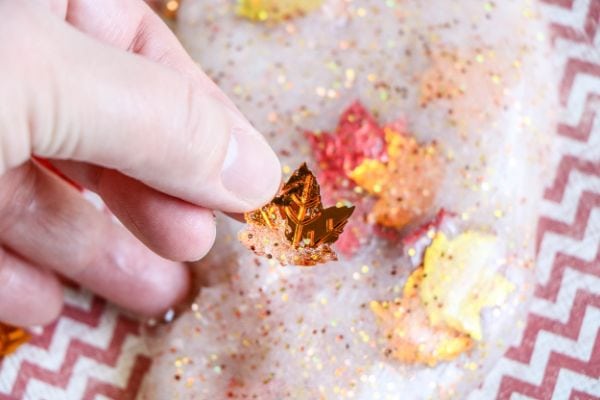
This is also the time to add the pretty fall foil leaves to the mixture.
STEP FOUR: ADD CONTACT SOLUTION
Take the contact lens solution and add it to the glue mixture and stir it all together. It helps to add the contact solution slowly and continue mixing as you add more in each time.
You want the glue mixture to work together into a soft ball.
STEP FIVE: KNEADING
Take the slime you have made out of the bowl. There will probably be some excess liquid in the bowl and that is fine. Just leave it in there.
The slime WILL BE STICKY. This is normal at this point. You need to start kneading the slime kind of like bread dough. The kneading will bring the slime together and it will become less and less sticky as you knead.
When the slime is no longer sticky you will know it is ready.
Always store the slime in an airtight container when you are not playing with it.
HOW ARE YOU CELEBRATING FALL?
I love fall activities and this glittery fall slime with leaves is a great kick off to the season!
If you are looking for some other fun ideas for fall with the kids be sure to check these out:
- Football Coloring Pages
- DIY Halloween Treat Bags for Kids
- Fall Fun Bucket List for Families
- Make some Scarecrow Cupcakes with the kids
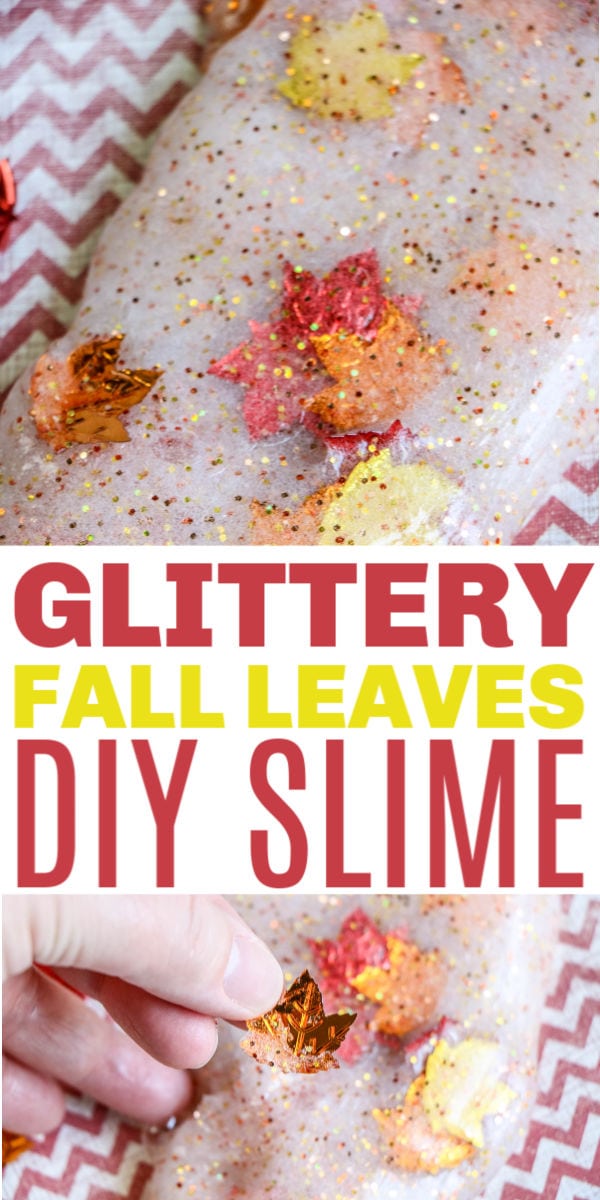
Be sure to PIN this easy fall themed slime recipe so you can come back and make it every year!
- Super Easy Buffalo Chicken Wraps Recipe (Healthy!) - April 15, 2024
- Air Fryer Asparagus with Parmesan and Garlic - April 8, 2024
- Free Printable Seahorse Coloring Pages for Kids - April 1, 2024
Leave a Reply