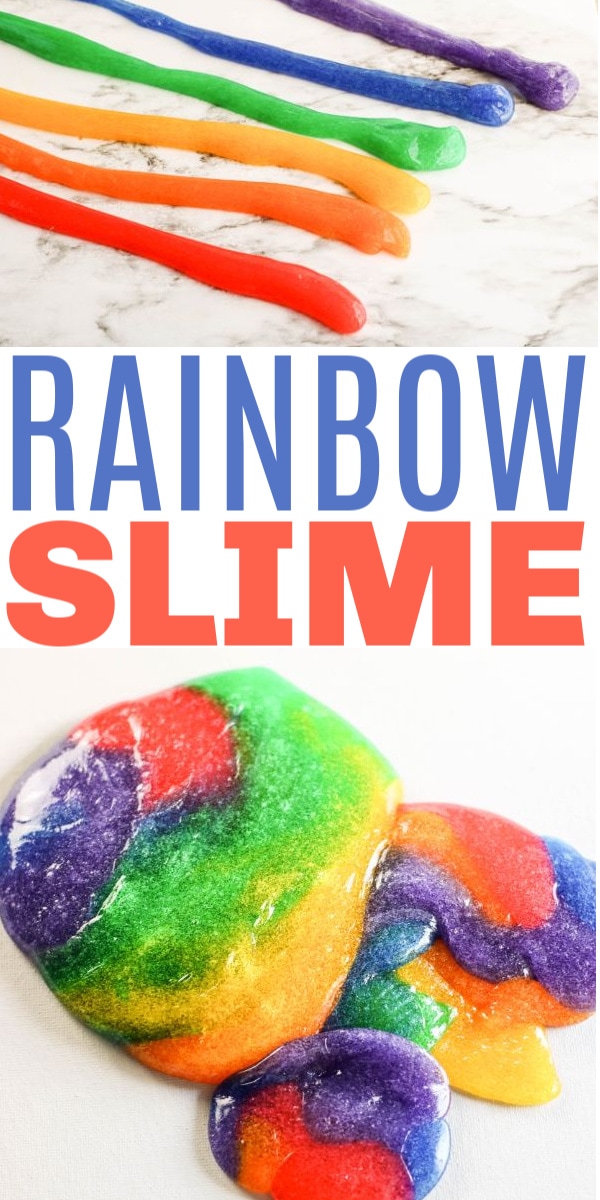
Learning how to make rainbow slime is easier than you think. Children will love this brightly colored slime with red, orange, yellow, green, blue and purple. This slime is perfect for St. Patrick's day and spring!
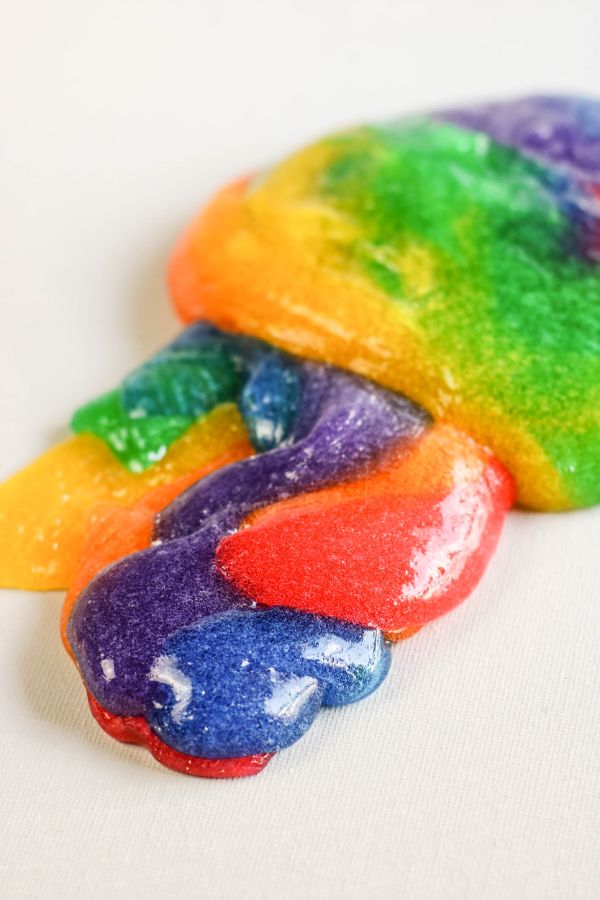
Table of Contents
MY FAVORITE SLIME SUPPLIES
We actually have a cabinet in the kitchen that is dedicated to slime supplies. I can't say that I don't look forward to the day when I can use that space for something else…but it is nice to keep the supplies in one central location!
We have made enough slime at my house to know which supplies we like the best. Here are some of our favorites!
- The slime lasts longer if it is stored in a good quality container. This 24 pack of empty slime containers
work great and they are a nice quality that can be washed and reused over and over. These are also nice if you are giving slime as a gift!
- Elmer's Glue
really does seem to be the best for slime making. There are definitely cheaper options out there, but the results are not always that great and sometimes they never seem to activate at all. We always end up going back to Elmer's. Buying a large jug saves a little money.
- If you don't like using contact solution to activate the slime you can try Elmer's Slime Activator
. It is relatively inexpensive and is non-toxic. We usually just use contact solution because we have contact wearers in the house so we always have some on hand!
- Cheap food coloring works fine for most slime recipes. I do like the big sets of 24 food colors
because it reduces the time spent trying to get a slime just the right color by combining colors. But it isn't necessary by any means.
[mailerlite_form form_id=1]
SUPPLIES FOR RAINBOW SLIME
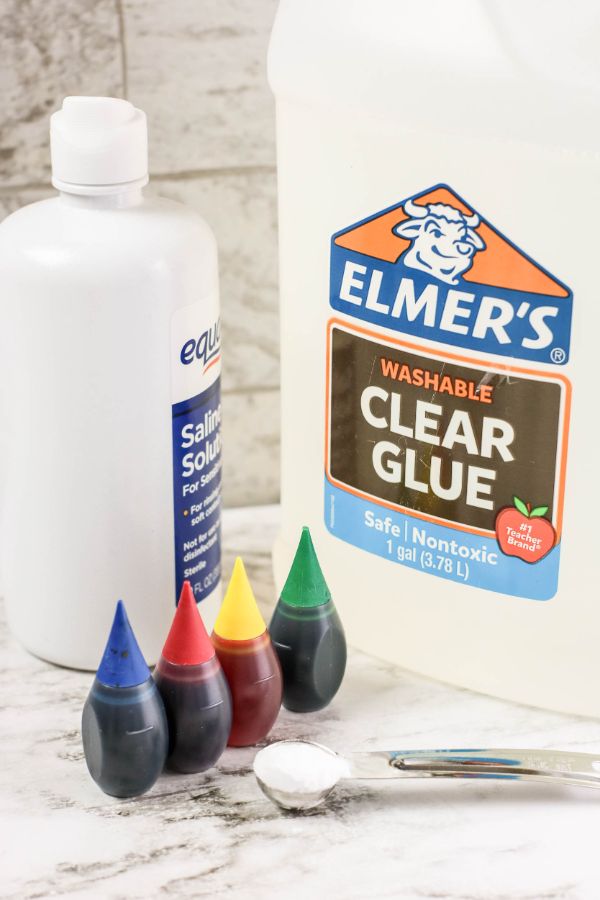
This easy rainbow slime recipe calls for basic slime supplies. There are only 5 ingredients required.
- Clear Elmer's Glue
- Warm Water
- Baking Soda
- Contact Lens Solution
- Food Coloring
HOW TO MAKE RAINBOW SLIME
This is an easy slime to make and even more fun to play with. The colors are so pretty for spring.
STEP ONE: SIX BOWLS
There are six colors of slime so you will be making six different batches of slime.
Start off with six bowls.
Pour one (6 ounce) bottle of clear Elmer's glue into each bowl. If you have a big jug of glue that works also. Just pour 3/4 cup of glue into each bowl.
Fill each empty glue bottle with 1/4 cup of warm water and put the lid back on.
Shake the bottle well to combine any remaining glue and water. Pour the mixture into the bowl of glue and stir to combine it.
STEP TWO: BAKING SODA
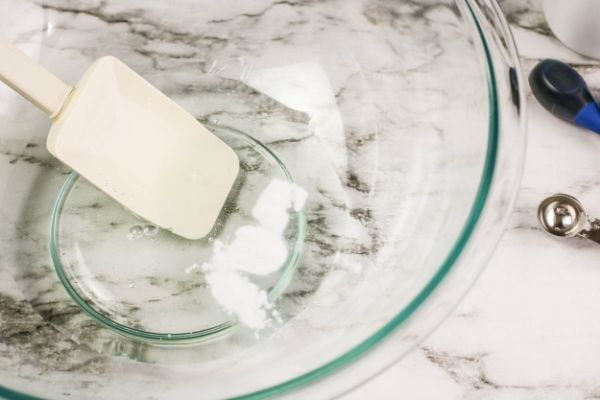
Now add the baking soda to each bowl of glue. Each bowl will get 1/2 teaspoon of baking soda.
Stir the baking soda into the glue very well.
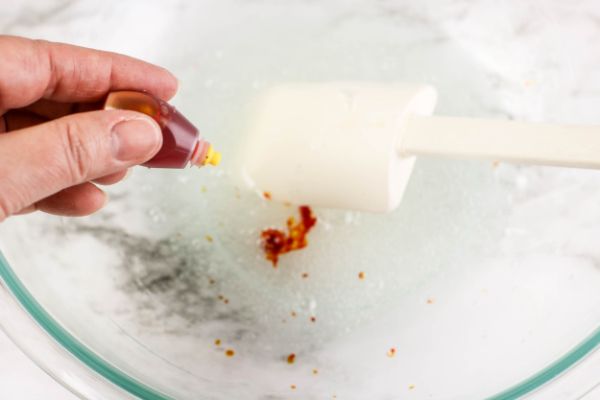
STEP THREE: ADD COLOR
It is time to add some color to the glue.
Each bowl will be a different color. You can make the colors as bright or as pale as you like. Here are the amounts of food coloring used in this recipe.
- Red was 10 drops of red food coloring.
- Orange was 5 drops of yellow food coloring and 3 drops of red food coloring.
- Yellow was 10 drops of yellow food coloring.
- Green was 10 drops of green food coloring.
- Blue was 10 drops of blue food coloring.
- Purple was 5 drops of red food coloring and 4 drops of blue food coloring.
Remember that different brands of food color will result in different shades of colors. Just experiment until you get the shades of color you like.
Once you add the food color to the bowls of glue stir them up really well.
If you want to add glitter, foil or any other items to the slime this is the time to add it in and stir it up well.
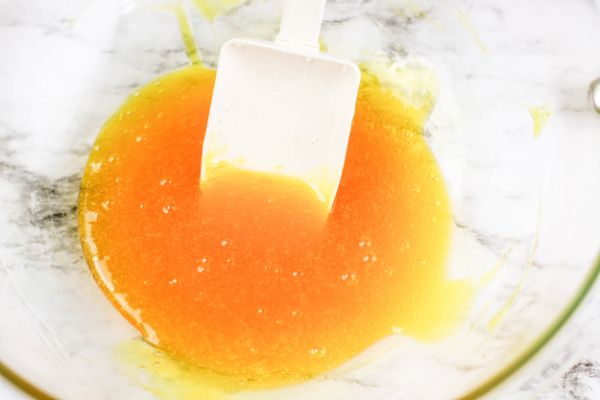
STEP FOUR: CONTACT SOLUTION
Add approximately 1 tablespoon of contact lens solution slowly to each bowl of slime. The contact solution needs to contain boric acid or it won't work properly.
Stir the mixture very well as you add the contact solution. Once the glue comes together to form a soft ball you can stop adding the solution. Regular glue won't require as much contact solution as glitter glue.
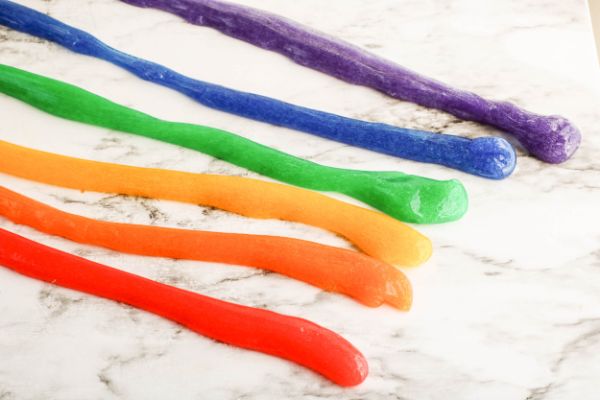
STEP FIVE: KNEAD SLIME
When the slime is a soft ball remove it from the bowl and leave any excess liquid in the bowl.
The slime WILL BE STICKY. This is normal.
Start kneading the slime kind of like you would bread dough. This will bring the slime together and as you knead it the stickiness will go away.
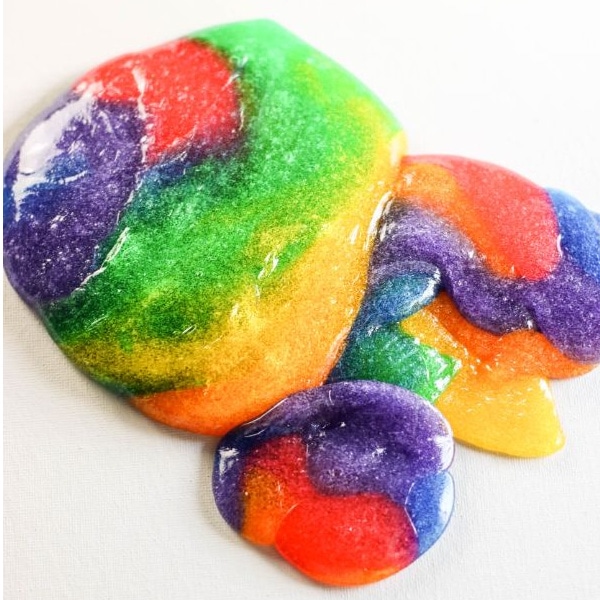
When the slime is no longer sticky you know it is ready. You can combine all the colors in rows to make a rainbow or you can play with the colors separately.
Always store the slime in an airtight container in the refrigerator when you aren't playing with it. This will extend its life!
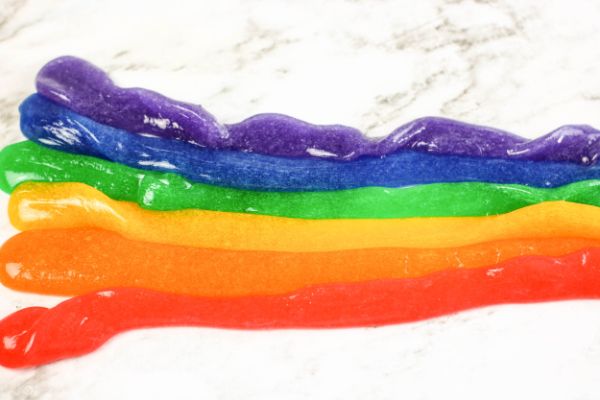
RAINBOW SLIME RECIPE TUTORIAL
You can print off the complete supply list and instructions for how to make rainbow slime on the tutorial card below.

This easy tutorial will teach you how to make rainbow slime. A bright colorful slime that is perfect for spring.
- 6 bottles clear Elmer's Glue (one for each color) or 4 ½ cups clear glue divided into ¾ cup increments 6 ounce bottles
- 1 1/2 cups warm water, divided 1/4 cup for each batch
- 3 teaspoons baking soda, divided 1/2 teaspoon for each batch
- 6 tablespoons contact lens solution, divided containing boric acid, 1 tablespoon for each batch
- Food coloring in red, blue, yellow, and green
- Toys or foil confetti if desired
-
You will make six separate batches of slime with one in each color.
-
Empty the glue into a large bowl.
-
Fill the empty glue bottle about ⅓ full with warm water (about ¼ cup) and seal with the lid. Shake well to combine the remaining glue with the water. Pour into bowl with glue and stir to combine.
-
Add the baking soda to the glue and stir to mix thoroughly.
-
Add food coloring to each bowl to make the colors of the rainbow: red, orange, yellow, green, blue and purple. I have listed how many drops were used in this recipe in the notes section. Stir the color in well.
-
If you are adding additional glitter, confetti, or other items, stir it into the glue mixture.
-
Add contact lens solution to the glue mixture and stir well. (Note: regular glue will require less contact lens solution than glitter glue. Add the contact lens solution slowly, mixing between additions, and add only enough to bring the glue together into a soft ball.)
-
Remove the slime from the bowl allowing any excess liquid to remain in the bowl. The slime will be sticky. Begin to play with the slime, kneading it as you would bread dough, to bring the slime together. The slime is ready when no longer sticky.
-
Best if stored in an airtight container in the refrigerator when not in use.
To make the colors in this project, we used:
● Red - 10 drops red food coloring
● Orange - 5 drops yellow food coloring and 3 drops red food coloring
● Yellow - 10 drops yellow food coloring
● Green - 10 drops green food coloring
● Blue - 10 drops blue food coloring
● Purple - 5 drops red food coloring and 4 drops blue food coloring
Now that you know how to make rainbow slime you might want to try out some other fun slime recipes:
Be sure to PIN this for later!
- Easy Delicious Cajun Ham and Beans Slow Cooker Recipe - April 22, 2024
- Free Printable Graduation Coloring Pages for Kids - April 22, 2024
- Super Easy Buffalo Chicken Wraps Recipe (Healthy!) - April 15, 2024
[…] an afternoon of slime making. Kids will have a blast making and playing with this rainbow slime. Slime can be a little messy but will keep kids busy for […]