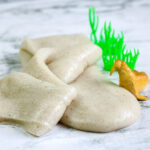
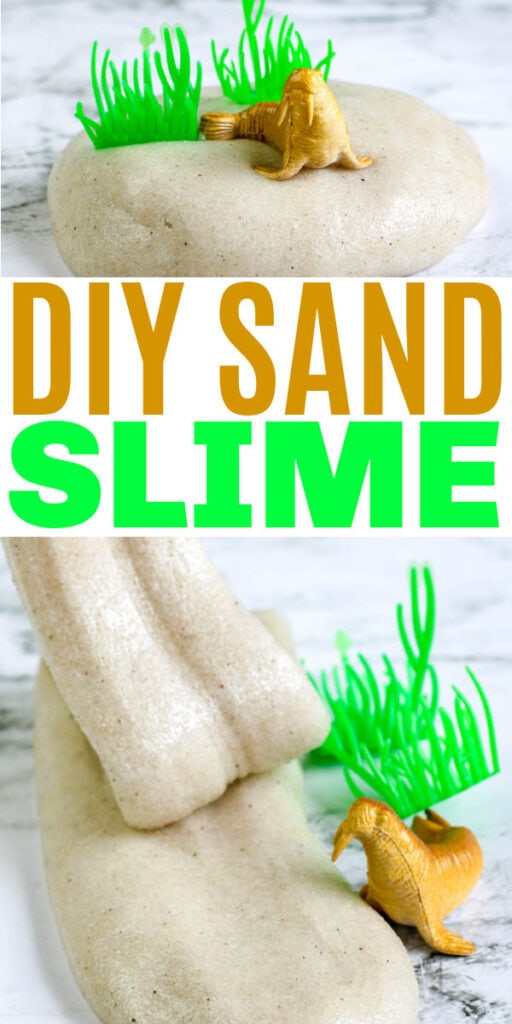
Find out how to make sand slime with only five ingredients. This is such a fun DIY project for kids and they will have a blast playing with this sensory-filled slime.

WHAT IS SAND SLIME?
There are so many different kinds of slime that kids will never get bored.
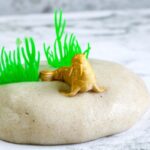
Sand slime is simply a version of homemade slime that has actual play sand as an ingredient.
The sand brings a different textural feel to the slime and it reminds me of summer time and beaches.

OTHER FUN WAYS TO PLAY WITH SAND
Most kids love sand. They like feeling different textures and sand has a unique feeling.
We have tried out different products over the years and have a few favorites.
One thing my kids really enjoy is playing with kinetic sand. We bought some at our local small-town toy store and it is a blast. As a mom, I like that it stays soft and doesn't make as big a mess as moon sand does.
Be sure to get some sand molds so you can make all sorts of cool things with the kinetic sand. You can use regular beach toys but some of them are too big.
I liked getting the mini sandbox toys and molds. They work great!

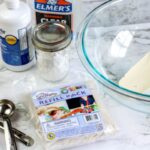
INGREDIENTS FOR SAND SLIME
This DIY sand slime recipe only has 5 ingredients. I like to keep it simple when possible. It is easy to learn how to make sand slime when you only have five ingredients.
- Blue Elmer's Glue
- Water
- Baking Soda
- Contact Lens Solution (with boric acid)
- Play Sand

HOW TO MAKE SAND SLIME
Once you gain experience making slime it is easy to change out an ingredient or two to change the whole recipe. Kids will LOVE this sand slime!

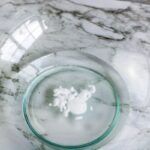
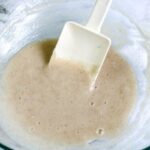
STEP ONE: GLUE AND WATER
The first step is to empty a 6 ounce bottle of blue Elmer's glue into a large bowl.
Fill the empty glue bottle with about 1/4 cup of warm water. Put the lid back on the bottle and shut the lid. Shake the bottle well so the remaining glue in the bottle gets mixed with the warm water.
Pour this glue/water mixture into the bowl with the glue and stir to combine.
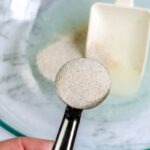
STEP TWO: BAKING SODA
Add 1/2 teaspoon of baking soda to the bowl of glue and stir until well-combined.

STEP THREE: ADD SAND
Now add the sand to the bowl and stir well.
You can add 1/2 cup up to 1 cup of sand depending on how “sandy” you want the slime to be.
Using play sand is best because it is clean and soft.

STEP FOUR: CONTACT SOLUTION
Add 1 tablespoon of contact lens solution that contains boric acid to the bowl. The slime will not turn out correctly if you use a solution that doesn't have boric acid!
Add the contact lens solution slowly, stirring and mixing between additions, and add only enough to bring the glue together into a soft ball.

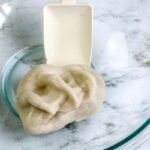
STEP FIVE: KNEAD SLIME
The last step is to begin kneading the slime. Remove the slime from the bowl and start playing with it and kneading it.
The slime WILL BE STICKY at this point and that is normal. The more you knead the slime and play with it the quicker the stickiness will go away.
The slime is done when it is no longer sticky. 🙂
Be sure to store the slime in an airtight container in the refrigerator when you aren't playing with it. This will make it last longer!!

SAND SLIME RECIPE
Now that you know how to make sand slime you can print off the easy directions and ingredients for this DIY sand slime via the card below.
Find out how to make sand slime with only 5 ingredients!
- 6 ounces Elmer's Glue in blue
- 1/4 cup warm water
- ½ teaspoon baking soda
- 1 tablespoon contact lens solution containing boric acid
- ½ to 1 cup play sand depending on how sandy you want the final slime to be
-
Empty the glue into a large bowl.

-
Fill the empty glue bottle about ⅓ full with warm water (about ¼ cup) and seal with the lid. Shake well to combine the remaining glue with the water. Pour into bowl with glue and stir to combine. Add the baking soda to the glue and stir to mix thoroughly.
-
Stir the sand into the glue mixture a little at a time until you reach your desired consistency.
-
Add contact lens solution to the glue mixture and stir well. (Note: regular glue will require less contact lens solution than glitter glue. Add the contact lens solution slowly, mixing between additions, and add only enough to bring the glue together into a soft ball.)
-
Remove the slime from the bowl. The slime will be sticky. Begin to play with the slime, stretching or kneading it as you would bread dough, to bring the slime together. The slime is ready when no longer sticky.
-
Best if stored in an airtight container in the refrigerator when not in use.
If you enjoyed this slime recipe be sure to check out these other great slime ideas:
If you make this recipe and love it…please leave me a 5 Star Rating and PIN it for later! I would really appreciate it!

- Navigating the Aftermath of an Accident for Your Family - July 4, 2026
- How To Make Holidays Feel Special When Kids Split Time Between Homes - July 4, 2026
- Our Favorite Brands For Getting Your Kids Beach Ready - July 3, 2026


