This easy New Years Eve slime recipe is the perfect DIY to keep kids happy and playing on New Year’s Eve! Slime is easy to make at home and give kids hours of entertainment. I love simple kid-friendly DIY projects!
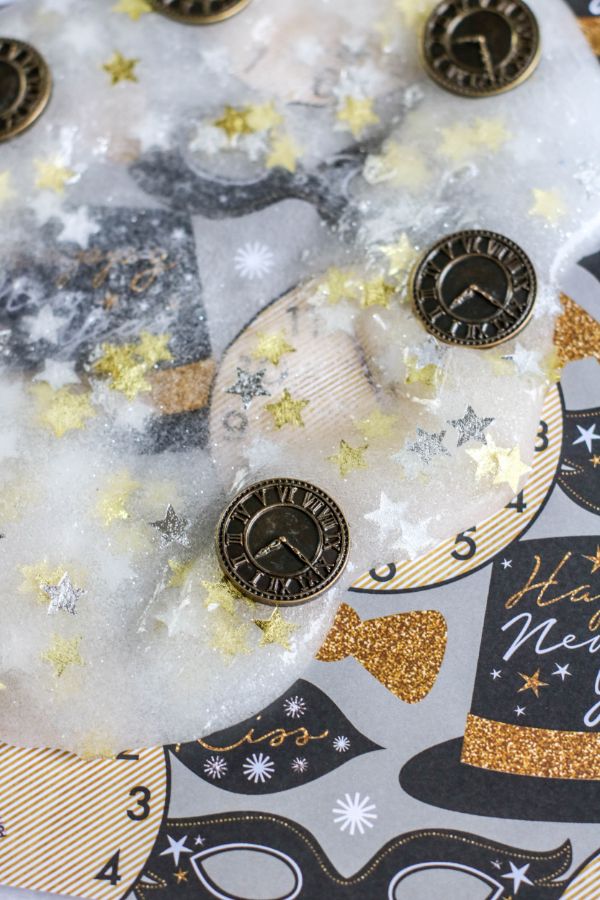
GREAT ADDITIONS TO NEW YEARS SLIME
Adding different items to slime is part of the fun. My girls love to come up with new items to add to slime.
New Year’s Eve is typically themed with gold, silver, black and white colors. There are hats, clocks, masks involved in a lot of the New Years decor.
Here are some fun items you can get to add to your New Years Eve Slime to make it extra special.
- Confetti Glitter Stars are gold and silver and look great in this slime.
- Sparkle Metallic Confetti
 is so colorful and pretty. This bag would last a LONG time and make a bunch of batches of slime.
 - Round Confetti Dots are also cute and come in gold, silver and white.
- Since clocks are a big part of New Year’s Eve it is fun to add some Steampunk Clock Charms to your slime.
 is so colorful and pretty. This bag would last a LONG time and make a bunch of batches of slime.
 are also cute and come in gold, silver and white.
 to your slime.
SUPPLIES NEEDED FOR NEW YEARS EVE SLIME
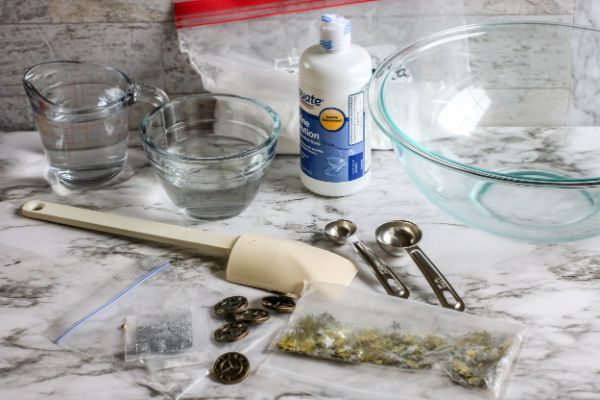
This is a very simple slime recipe with only 5 supplies required and one of those is water!! If your kids love making slime as much as mine do you probably keep some of these items on hand. We actually have a slime supply cabinet!!
- Clear Elmer’s Glue
- Water
- Baking Soda
- Contact Lens Solution
- Foil Confetti and Small New Year’s themed toys

HOW TO MAKE NEW YEARS EVE SLIME FOR KIDS
Once you make slime a few times this will become second nature. My daughter doesn’t even need directions anymore to make slime. 🙂
STEP ONE: GLUE
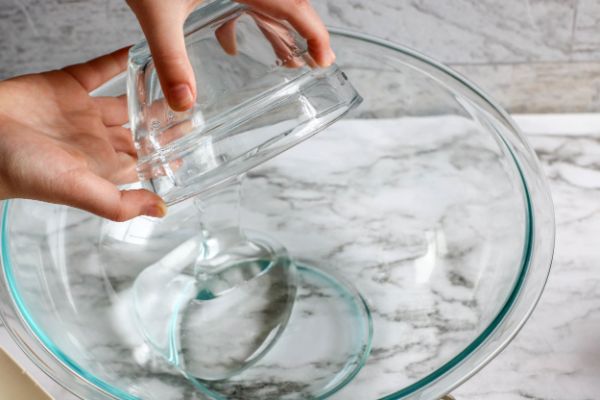
Start off by emptying 2 bottles of clear Elmer’s glue into a large bowl. These are 6-ounce bottles.
Add 1/4 cup warm water to each glue bottle. Put the lids back on the glue bottles and shake them really well to combine any remaining glue with the water. Pour the glue water into the bowl and stir it all up to combine.
STEP TWO: ADD BAKING SODA
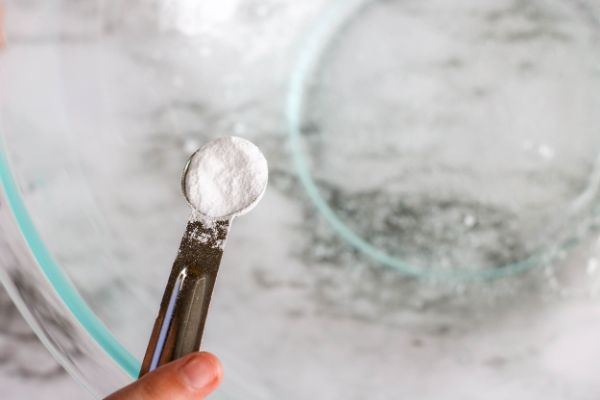
Now add 1/2 teaspoon of baking soda to the glue and stir to mix it up well.
STEP THREE: ADD CONFETTI
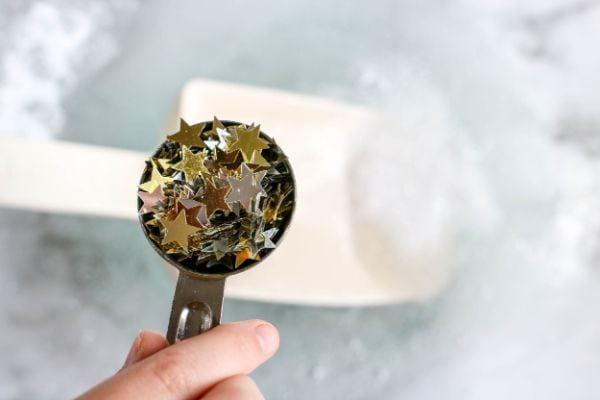
It is time to add the foil confetti. You can also add glitter at this time if you wish. Stir it all together.
STEP FOUR: ADD CONTACT SOLUTION
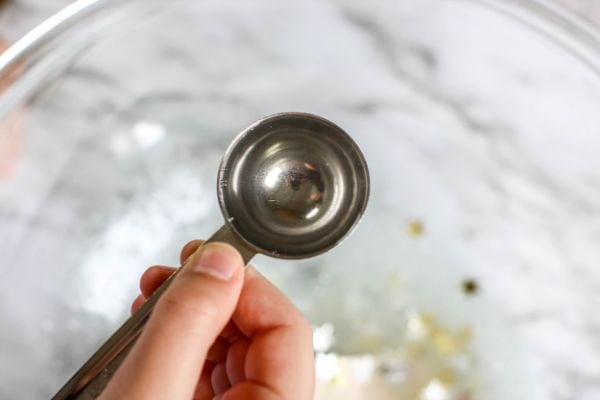
Now it is time to add the contact lens solution. Be sure that the solution you buy has boric acid in the ingredient list.
Add the contact lens solution slowly, stirring the mixture well between additions. Add enough that the glue mixture forms a soft ball of slime.
STEP FIVE: KNEAD SLIME
Take the slime out of the bowl. If there is any excess liquid in the bowl just leave it there.
The slime is going to be very sticky. This is NORMAL.
Start playing with and kneading the slime like you would bread dough. This will bring the slime together. As you continue to knead the slime it will start to become less sticky. When it is no longer sticky you know the slime is ready.
Always store slime in an airtight container when you aren’t using it. It is best to store it in the refrigerator but not required.
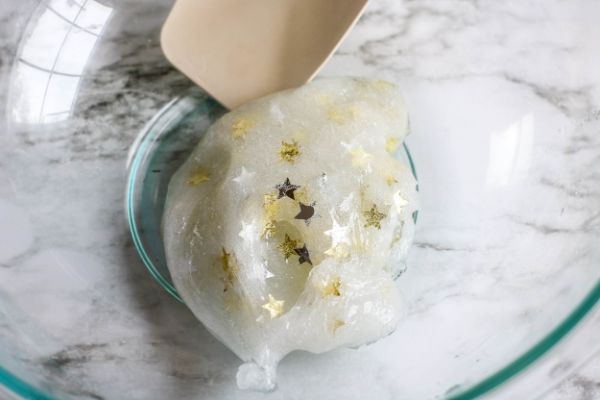
NEW YEARS EVE SLIME RECIPE
If you like to keep a binder of DIY directions you can download and print off the complete supply list and directions for this New Years Eve Slime via the recipe card below.
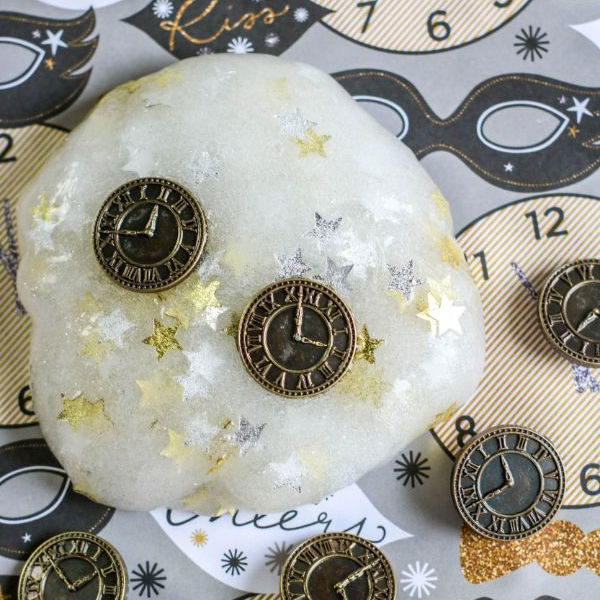

This New Years Eve Slime for kids is easy to make with only 5 ingredients needed.
- 2 bottles Elmer's Glue in clear 6 ounce bottles
- 1/2 cup warm water divided
- ½ teaspoon baking soda
- 1½ tablespoon contact lens solution containing boric acid
- 1 1/2 Tbsp foil confetti or glitter white, silver, or iridescent looks great!
- Toys small New Years themed toys, if desired
-
Empty the glue into a large bowl.
-
Fill the empty glue bottle about ⅓ full with warm water (about ¼ cup) and seal with the lid. Shake well to combine the remaining glue with the water. Pour into bowl with glue and stir to combine.
-
Add the baking soda to the glue and stir to mix thoroughly.
-
If you are adding additional glitter or confetti, stir the glitter into the glue mixture.
-
Add contact lens solution to the glue mixture and stir well. (Note: regular glue will require less contact lens solution than glitter glue. Add the contact lens solution slowly, mixing between additions, and add only enough to bring the glue together into a soft ball.)
-
Remove the slime from the bowl allowing any excess liquid to remain in the bowl. The slime will be sticky. Begin to play with the slime, kneading it as you would bread dough, to bring the slime together. The slime is ready when no longer sticky.
-
Best if stored in an airtight container in the refrigerator when not in use.
If you love making slime be sure to check out these other easy slime recipes:
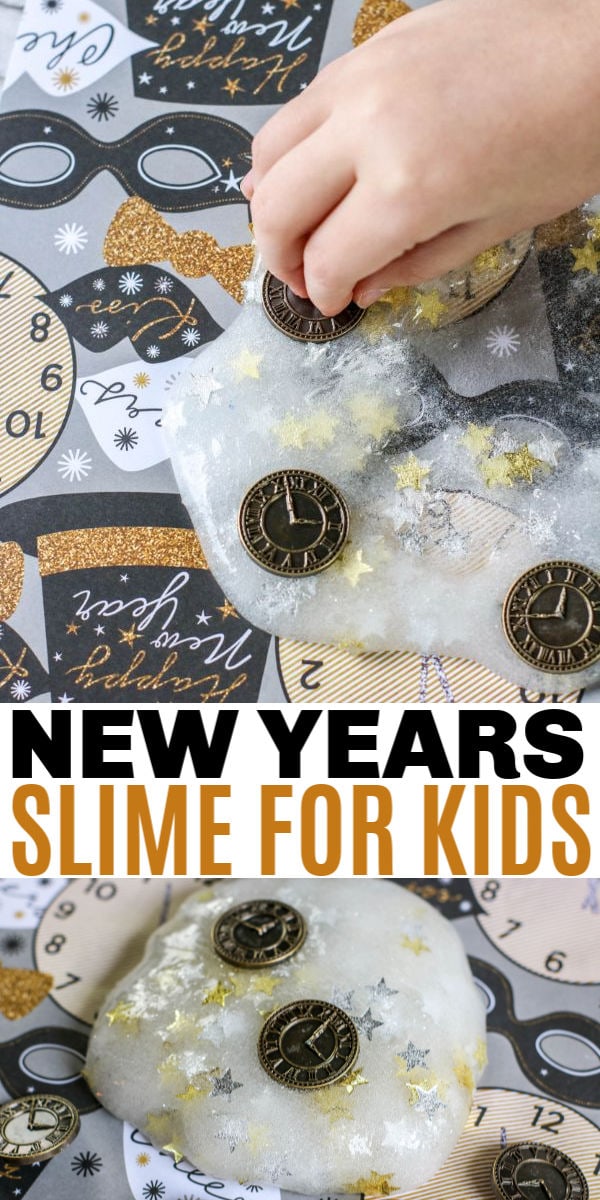
Be sure to PIN this for later!

- Top Patient-First Dentists In 2026 - October 9, 2026
- 5 Mistakes Consumers Made When Buying DIY Garden Tools Online - October 9, 2026
- 5 Signs It’s Time to Focus More On Your Mental Health - October 8, 2026