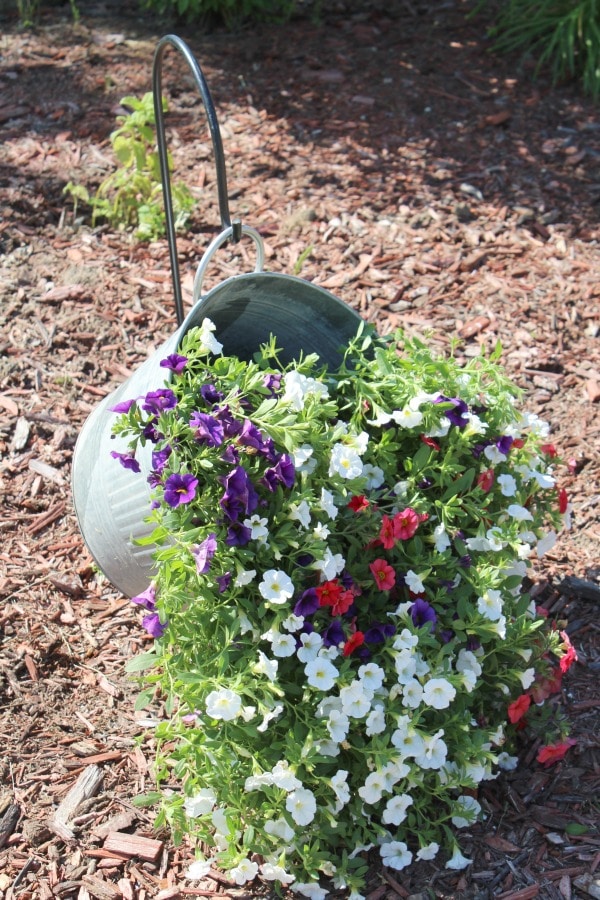
Spring is just around the corner and I can't wait to get my flower beds up and rolling. It is so nice to bring some color to my yard after a dreary winter. Last year I did DIY hanging flowers in a metal bucket and it turned out great! This was really quick to put together and I loved the way it turned out.
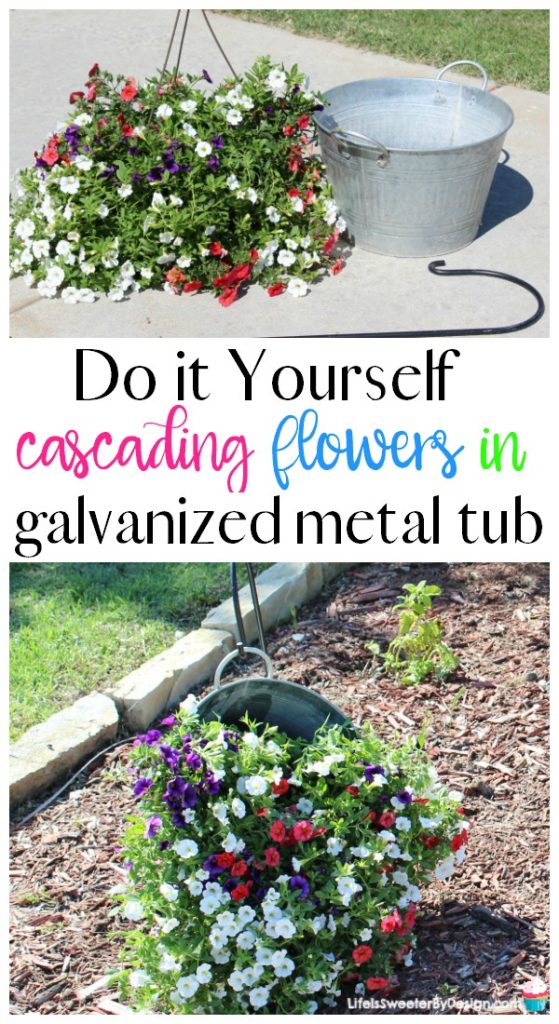
DIY Hanging Flowers in a Metal Bucket
The great thing about this project is that you may already have some items in your garage. I had a metal tub sitting in my shed from a different project. It is great to be able to recycle items I already have!
If you don’t have a bucket on hand, you can look for one made of steel or even aluminum plate—they’re both great durable options.
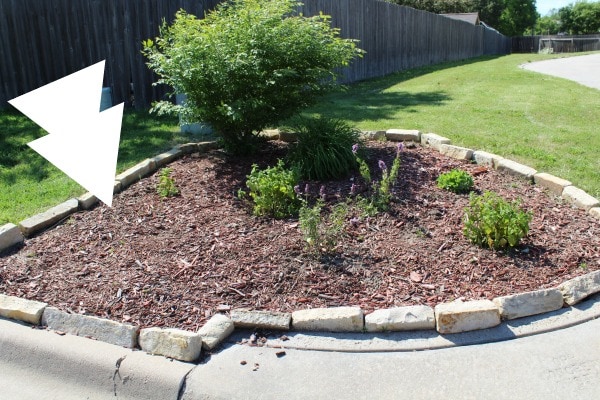
I had a bare spot in the flower bed by the end of the driveway. This area needed something, and this hanging flower bucket worked perfectly.
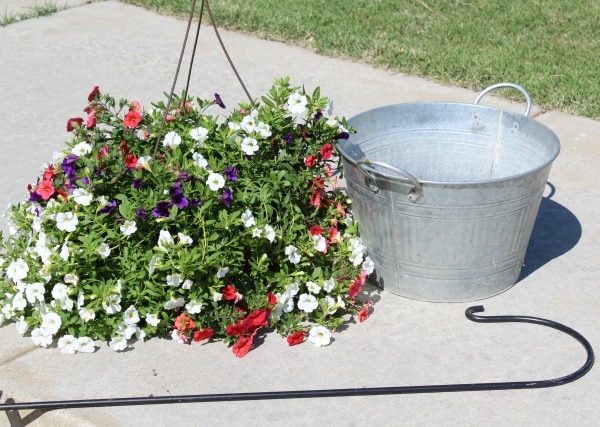
Supplies Needed for the DIY Hanging Flowers in a Metal Bucket
There are only a handful of items needed to make this fun DIY hanging flowers in a metal bucket project.
- galvanized metal bucket or tub with handles
- heavy-duty garden shepherds hook
- pot of cascading flowers
- small tent stake
How to Make Hanging Flowers in a Metal Bucket
The steps to making this outdoor DIY project are simple to follow.
- First, decide where you plan to hang your cascading flowers. There are so many amazing front yard landscape ideas out there…the possibilities are endless.
- Buy the flowers according to what size bucket you are using. I wanted my flowers to be big and really cascade down.
- Don't skimp with a wimpy garden shepherd's hook. The bucket will be heavy, and the hook needs to be strong!
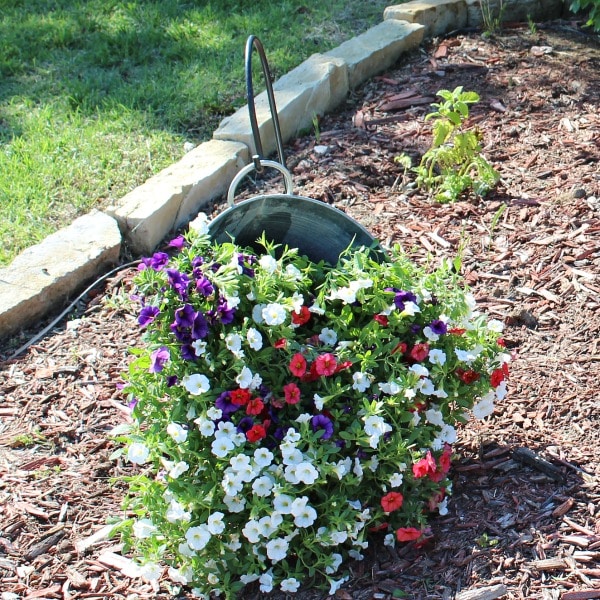
- Place the hook in the ground where you want it to be. Push it down to where the bucket is just barely off the ground.
- Transfer the flowers to the bucket and water them!
- Hang the cascading flower bucket on the hook.
- Take a small stake, connect the bottom handle of the bucket, and stake it to the ground. This didn't show and was essential to keep the bucket from swinging too much in the wind. This was important for me in Kansas–we have a lot of wind!
TIPS FOR THE BEST OUTCOME
I found out that my flowers seemed to sink lower and lower in the bucket over time. I preferred them to be higher up. My solution was to put some old pieces of scrap wood underneath my flowers in the bucket to boost them up higher.
Another good point is that this required more watering than usual. I think because the bucket is tipped, a lot of the water runs out of it when it is watered. To keep the flowers looking good, I did about twice the watering I would typically do.
WHAT BUCKET SHOULD YOU USE?
There are so many cute buckets you can use for this project. I looked for one when I went to my first vintage market, but I didn't find what I was looking for. Some other places to look at is at garage sales, estate sales or ask friends.
The great thing about this project is that it can be a small, medium, or even huge tub…it is your choice! Work with what you can find. This DIY is super easy…just like my garden statue redo!
Other Good Ideas to Beautify Your Garden
In case you don't get around to creating your own DIY, there are many fun garden decor items you can buy to spruce up your yard.
- This three-tier plant stand is adorable and would look good on your porch or in a flower bed.
- If you have a spot for a wooden garden bridge I would recommend it. They make any yard look adorable.
- Bird feeders come in all shapes and sizes. They can make your yard really fun if you love to bird-watch.
I would LOVE to see a picture of how your cascading flowers turn out!

- A Guide to Assessing and Selling Valuable Possessions - July 20, 2026
- How to Inspect an Inflatable Water Slide Before Each Use - July 20, 2026
- Uncovering Health Clues Through Your Hearing - July 18, 2026


